GLC Fighting Deck
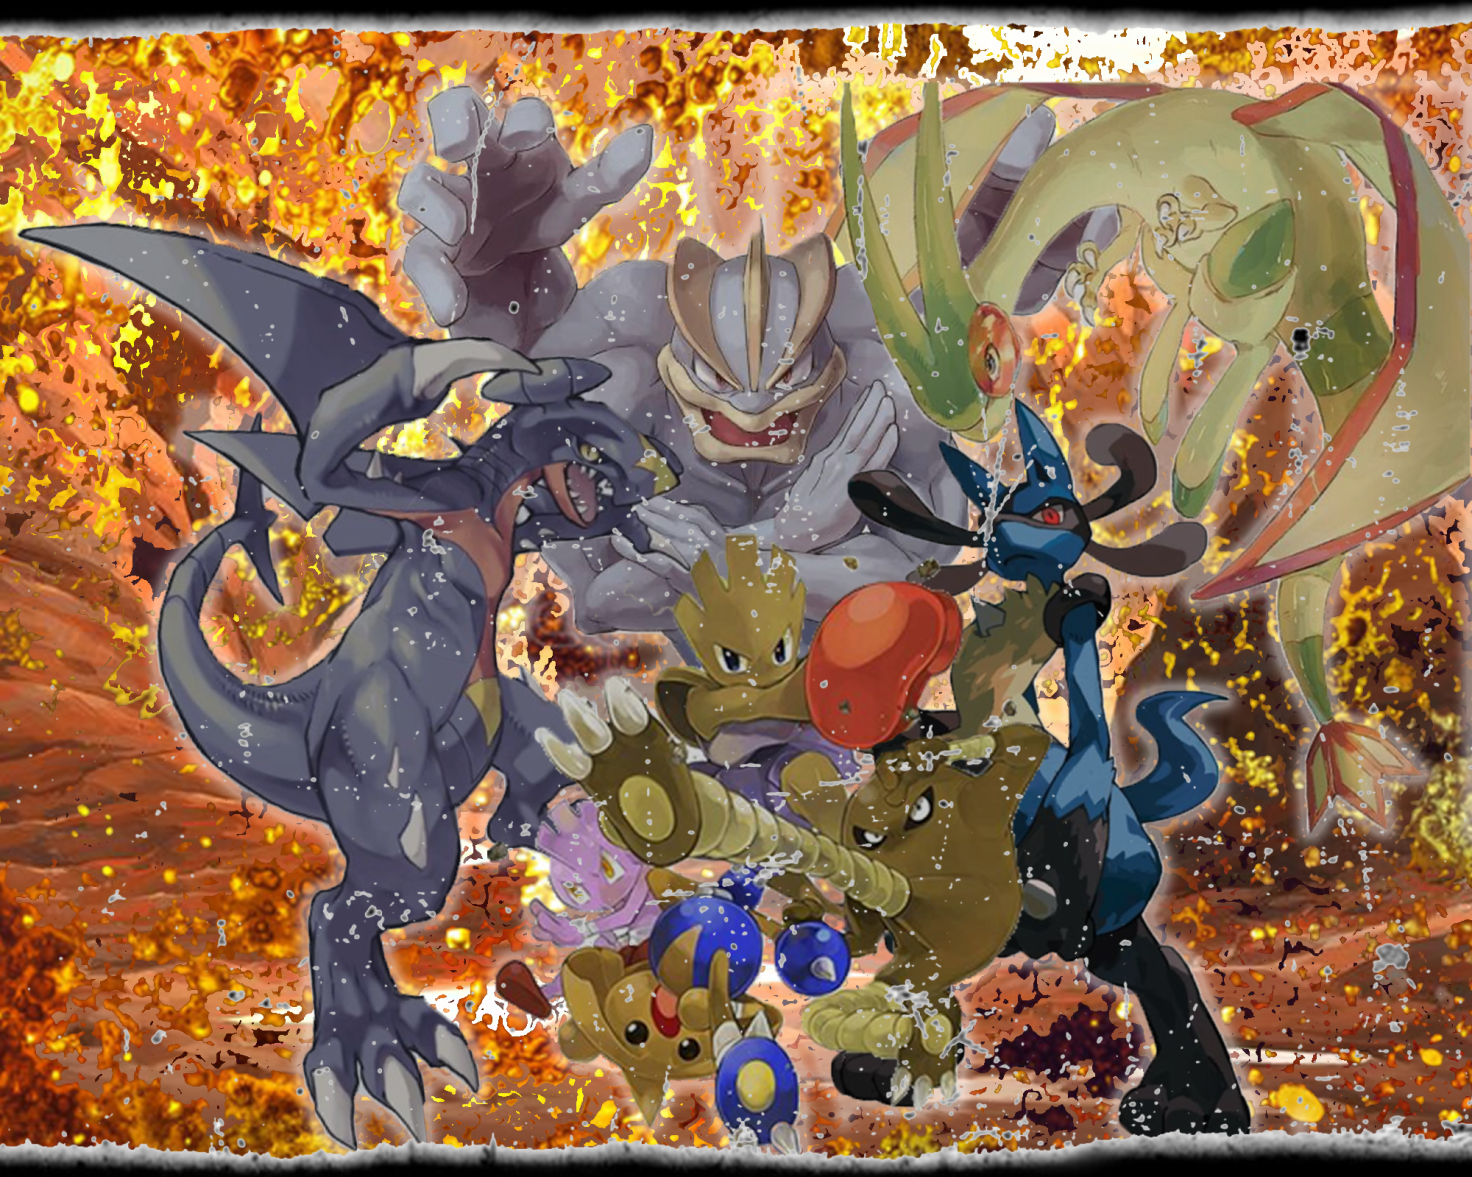

HitmonChamps
Let me present one of my favourite decks in GLC, in my opinion one of the most complete ones: The HitmonBroskys. Who are the Bros? Hitmonchan, Hitmonlee and Hitmontop.
The Combo
What’s going on with these nice guys? Well, the strategy is simply based on starting the Hitmoncombo, that consists of three cheap, chained attacks during 3 turns from the 3 different brothers, while in the meantime you set up your evolutions which will have a noticeable impact in the late game.
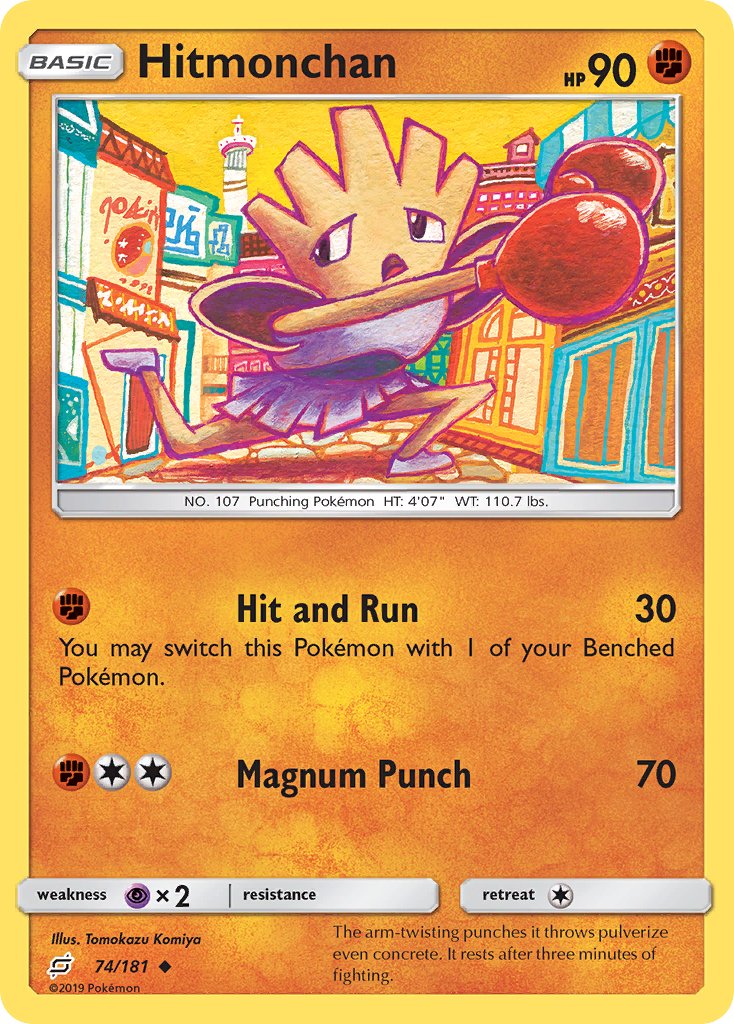
What you want to see from your first turns is Hitmonchan plus an energy and a way to “Hit and Run” (his first and main attack in this archetype). “Hit and run” (30dmg) may makes you switch out to something in your bench, preferably a Pokédoll or Tyrogue (since he’s a free retreater), or worst-case to a sacrificial pawn.
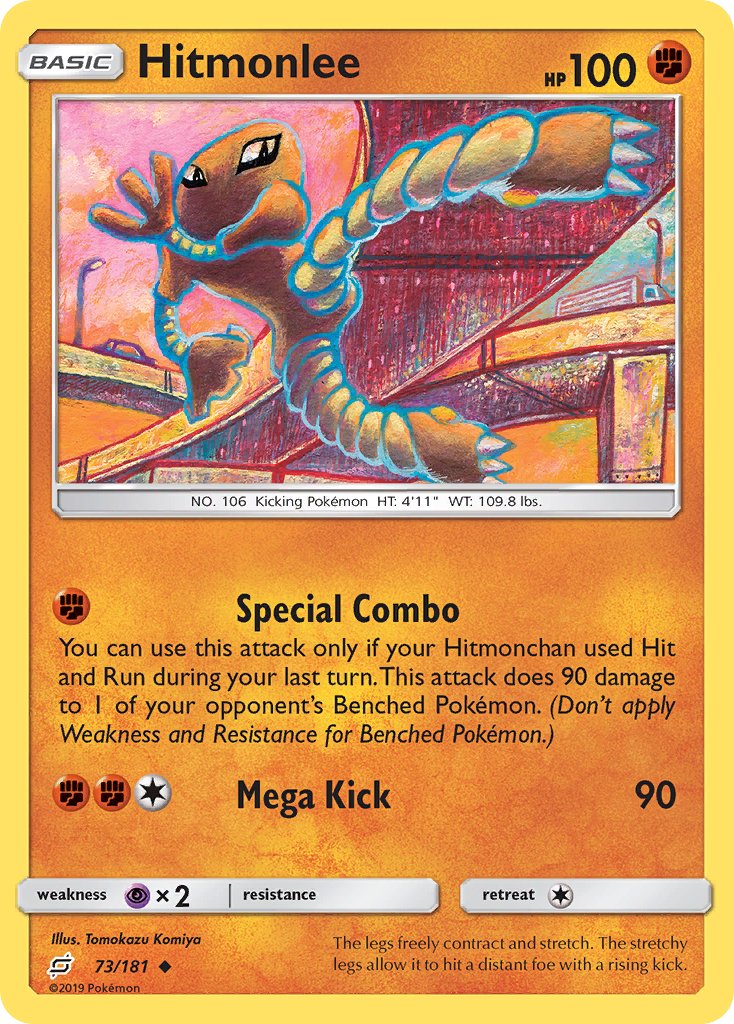
Keep in mind the need to switch into Hitmonlee, and by this I mean U-turn board, free retreater Tyrogue or direct retreat. If you already have it, you can also put Hitmonlee in the active spot if he has a chance to survive and be able to use the “Special Combo” on the next turn, a kick to your opponent's bench for 90 dmg to 1 Pokémon. You can decide whether to remain active with Hitmonchan, of course, so if you are threatened by a possible Guzma or Boss’s Orders (who can interrupt the Hitmoncombo), avoid benching the next piece and never expose Lee or Top to an attack specially now with Lost City in format.
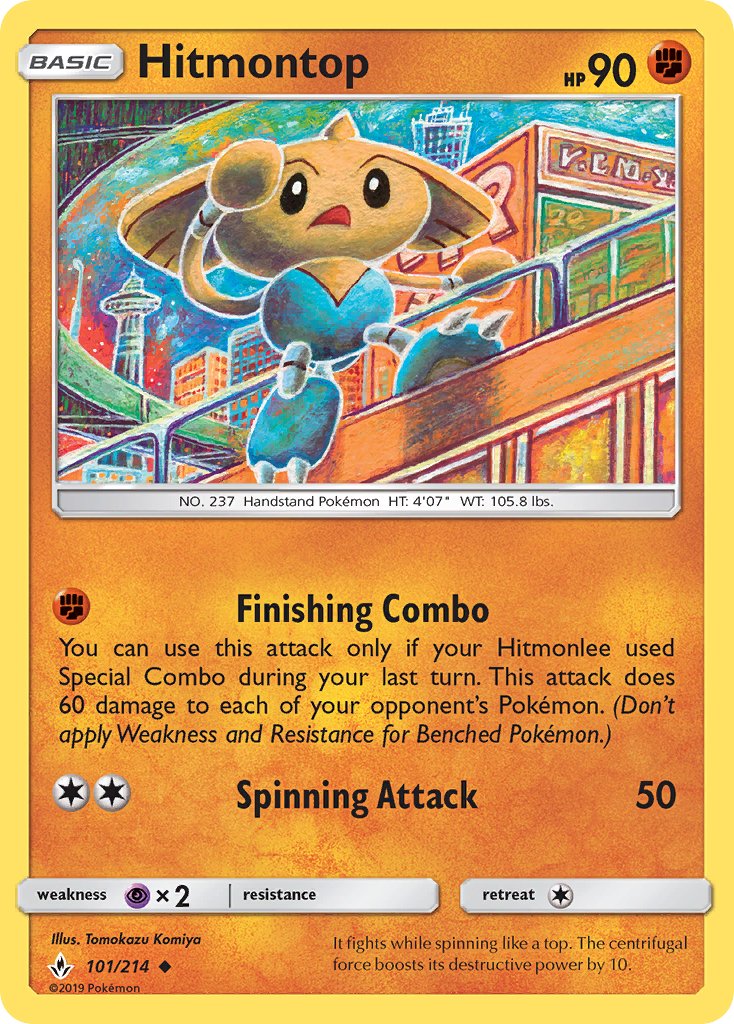
For Hitmontop we don't need to say much, his “Finishing Combo” will inflict 60 damage to everything and with Wide lens vs. lighting, colorless and dark it will hit for 120 on most. His main job is fixing the math for Flygon, Machamp and Garchomp, sometimes even for a boosted Chan (Strong energy + Muscle band).
If it's not relevant or really impactful for the game, you should never interrupt the combo to promote Garchomp or Flygon, which is why this list doesn’t play cards like Buzzwole or any other alternate attackers. There are cases where you can chain Chan and Lee for a couple of turns and skip Top turn, cause a good player usually tries to avoid the risk of multiple damaged Pokémons, so take your time with the Poké Doll if you can and keep your tempo.
Setting up for Late Game
The combo is the forerunner: it eliminates low HP supports and makes favorable math on big Pokémon. As the combo develops, you must have been able to set at least one of your late game strategies based on what's happening. Vibrava, for instance, protects itself from Supporter cards like Guzma and Boss’s Orders thanks to its ability. Once you evolve it into Flygon he will punish stadiums played by your opponent winning a turn of invulnerability that can only be passed through Pokémon Ranger or a Shred attack, moreover his ability (Your opponent can’t retreat his active Pokémon) becomes really powerful in many situations. Machoke, if it is required by the matchup, and now also with the insane late game comeback potential of Machamp’s Crisis Muscle ability, and last but not least, the Garchomp & Lucario combination will give consistency in developing the strategy by searching for the missing piece every turn or to be prepared for the next turn.
First or Second
I usually like to go first to better develop the board and maybe having the chance to flip a coin for Tyrogue’s Bratty Kick ability (3 damage counters on one of your opponents Pokémon). You can also have an advantage in some matches where you need Machoke. Against Lighting, don’t risk it and instead choose to go second. Same vs. Dark even if it’s less frequent, however, I usually prefer to start.
Most Important Cards
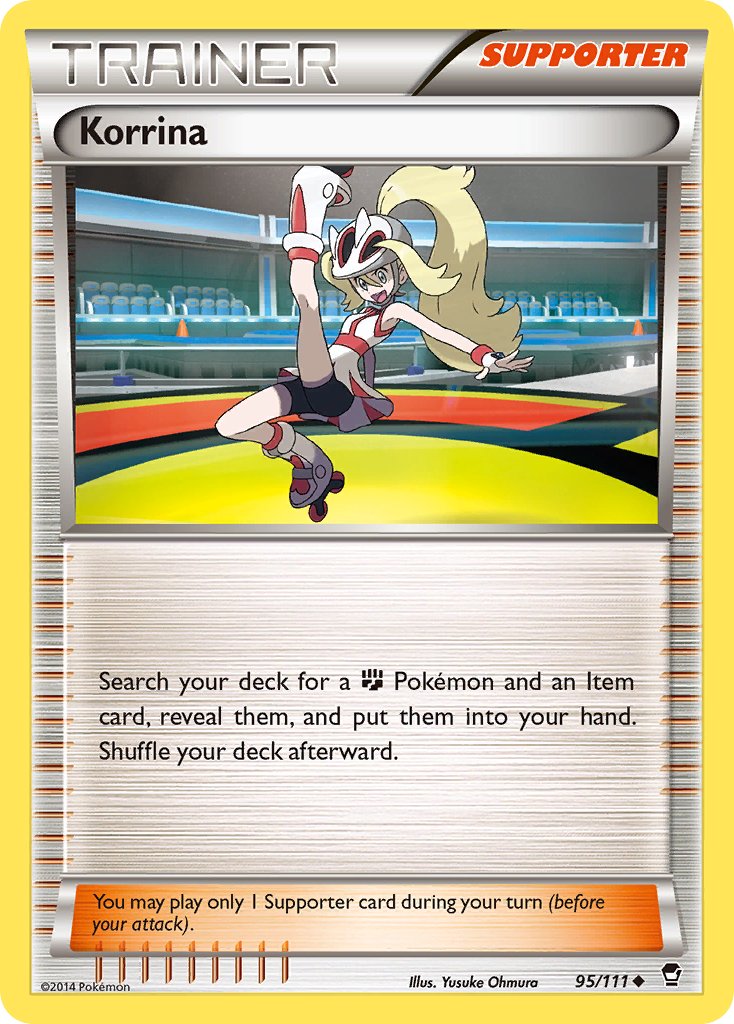
Before Irida there was Korrina, definitely one of the strongest card in the deck.
It is really enjoyable to play with this type of card, and in this deck it is
great because you need 2 or 3 cards to get a strong turn and she can do
it for us. Having Korrina in hand from the first round means we'll have
access more easily to Garchomp & Lucario combo by rare candy and our entire
attack plan will gain precision and solidity. Letting us take any fighting
Pokémon and an item is truly sensational. During this chat, you will see how it
will often be named as the best option to get what we need.
What happens if I prized part of the combo and I can’t start it? We have a couple of cards to manipulate the prizes, Peonia and Hisuian Heavy Ball. The second one could be grabbed cosily by Korrina and the other by drawing or passing trough Garchomp & Lucario. In the meantime you can flip some coins with Tyrogue, hiding behind the doll or we could risk the ascension with Gible and Gabite paying attention to the situation we are in. Plan your best, Flygon is not that hard to build or even forcing an early Machamp in the right case. Guzma & Hala is our damage booster and stadiums bearer. Early game with Brooklet Hill we will be able to set our squad, bringing us Muscle Band and Strong Energy gives an immediate boost to our Chan, or in case of a favorable weakness matchup, Hitmontop + Wide Lens is in his hands. GuzHala will give us DCE too, and we could have an attack with Flygon from it. Similar case with Raihan which functions as an energy acceleration for pulling off Flygon or Machamp or just to follow with our combo. It can bring us also Garchomp/Lucario.
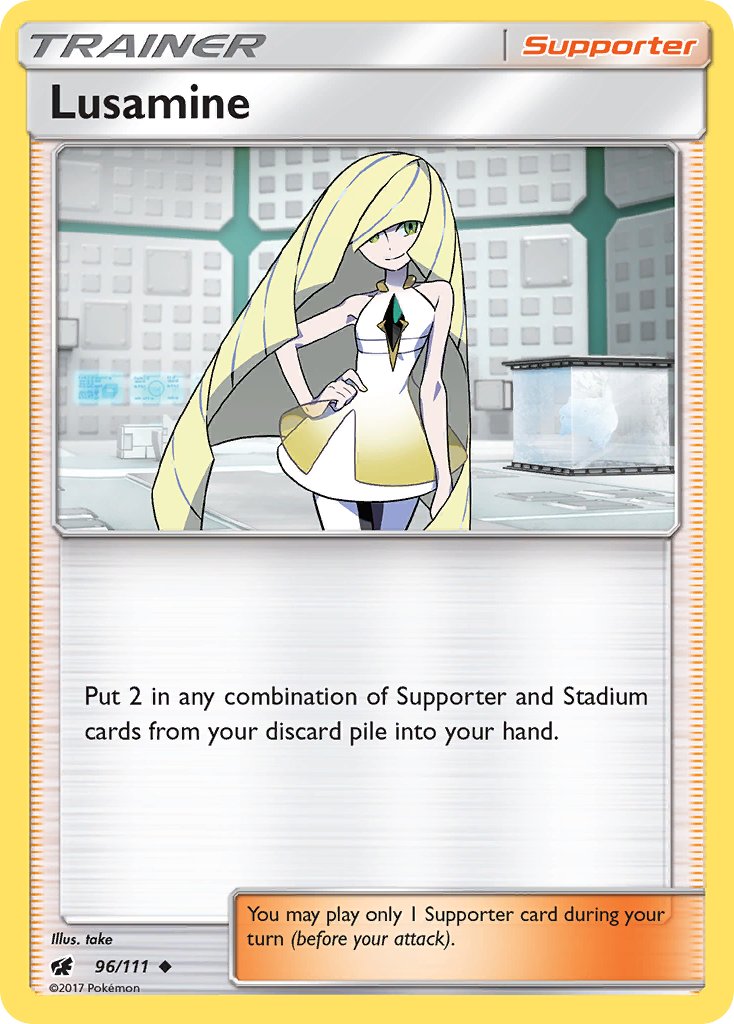
Lusamine and Cynthia & Caitlin increase our consistency in mid to late game by building a strong hand to finish the game. Recovering the aforementioned supporters or a Guzma and in the case of Lusamine our strong stadiums. PokéNav is one of my favourite consistency linking cards in GLC giving you the possibility to find any energy or any Pokémon. Knowing what are you going to draw before playing a draw forward supporter helps to make a more precise play. Played at the end of your turn with the effect of reordering the top deck, it’s prevents ill effects of Marnie or just helps to be better prepared for the turn incoming. Also, if you don't like what you are going to draw maybe you are able to shuffle before and have better luck. I personally love it. Making a good use of it with a proper sequence is important in order to patch up the inconsistency during the game. For sure another strong linking card is Trainer’s Mail. This type of item is required in this kind of deck where we have some lack in draw power. PokéGear, Gutsy Pickaxe or Trekking Shoes are also some good options if you prefer.
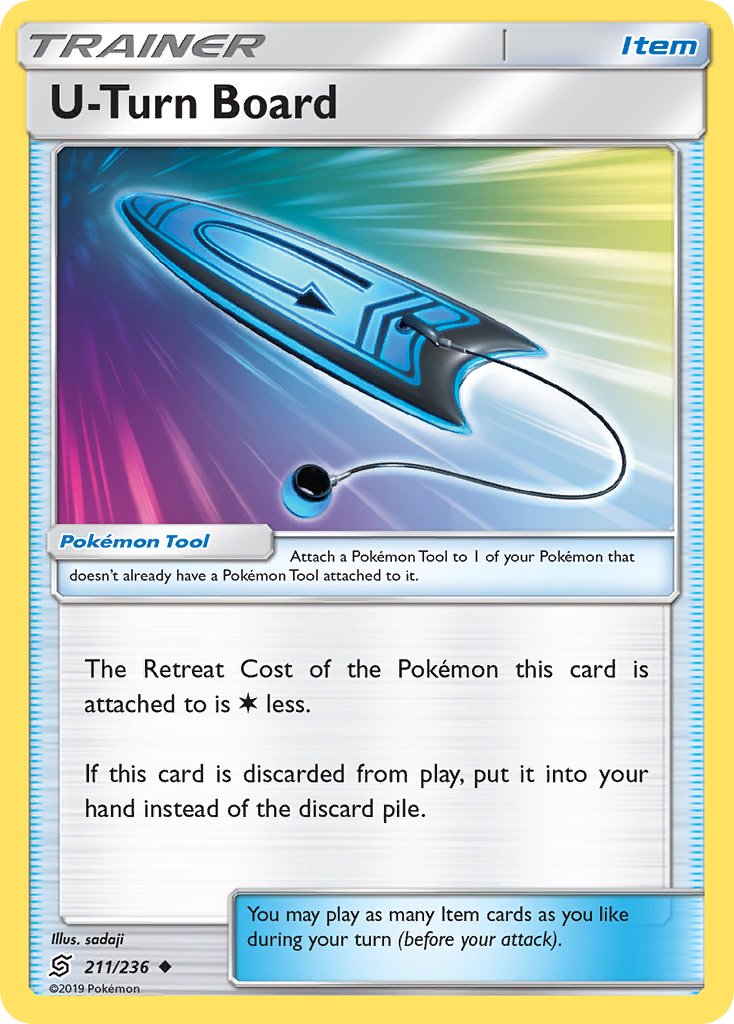
U-Turn Board. Only 2 cards in format, Lost Vacuum and Faba, can get rid of this tool by lost zoning it. Otherwise it’s something really handy to always have around giving us free retreat with every Pokémon in our squad except the Machamp line and making us feel safe during our maneuvers.
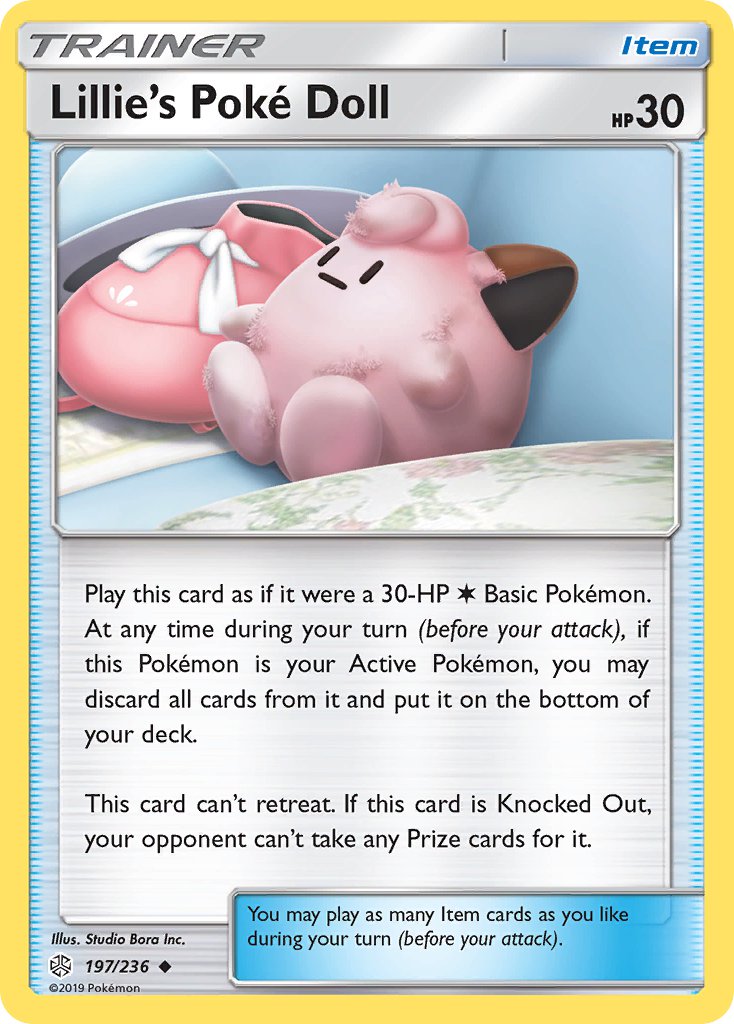
The last card I want to talk is Lillie’s Poké Doll, often crucial to make ends meet by not giving a prize to our opponent who will have to go through his resources to search for gusts. It is also convenient in keeping up tempo if we miss Hitmonlee. Really strong during the late game where gusts are often in the discard pile. I’ve tried having both Pokè Doll and RoboSub and it’s stronger for sure, specially in turbo builds focused more on replaying many times the combo. Not a thing that this list can’t do.
Let’s go now more thoroughly on the importance in how to use the Broskys and interact with the tools at our disposal.
Tools, Dynamics and Kicks to the Bench
When I won Friday Night #29, the list I played didn't have Wide lens. That day I decided to go safe and play one more basic energy. However, I will to talk about it as it’s probably the most powerful tool the Bros has in the arsenal. Take your own risks if you want to play it if you think it's the right call. The choice in cutting it was also influenced by the release of the new Machamp Crisis Muscle. I always had the Machoke since the first take on the archetype and I tried a couple of Machamps that didn’t satisfy me, but this one needed to have a spot in here for his crazy ability. It is really strong after the Bros have done their job. We have some tools to modify our damage output: Muscle band is +20 damage on the active, Wide lens will bring weakness and resistance even on the bench, a Strong energy for another +20 damage only on the active defender and a stadium (the Martial Arts Dojo) that will give you a +10 to the active spot or +40 if the attacking player has more prizes left than his opponent. With “Special combo”, Lee is a support killer. 90 damage on the bench means you can get rid of cards like Sobble/Drizzile, Octillery, Magcargo, Gabite, a future Roserade or Thwackey or even a bench barrier and many other support Pokémon that all the types have to function. Knowing what to target and how and when to use your tools is key, and includes the meta knowledge and the outs and possibilities of your opponent’s plays.
We are going to analyze some cases where an improper use of tools could ruin your plans or, conversely, completely be game changing:
- Versus colorless, usually you like to put wide lens on Top, so here Lee would go for Pidgeotto, as it would not go down to Top with wide lens (40 damage, since it would count resistance even on the bench with the tool). Early cheap damage on Pidgey (just 20, will fix math for Top) so “Special combo” could target what you think is the major threat. Birds or other colorless Pokémon with fighting resistance (Tornadus, Lugia, ecc.) could be annoying, so try to avoid that by hitting them on the bench with Lee. Top + wide lens will lose a bit of damage on the aforementioned Pokemon, but he will still fix math and take KOs on Cinccino, Bibarel, Porygon 2 and Vigoroth. If something weak to fighting happens to be in the active spot, modify your damage output and you will get a knockout on a 160 hp Pokémon like Slaking or Snorlax. With Dojo in play and behind in prizes, you can even deal 200 hp or more.
- Darkness, Lee could be really strong with wide lens since it takes a KO on a benched Guzzlord bringing weakness and hitting for 180 dmg (Cape or Toughness or Fighting fury belt not counted). Top with wide lens in this matchup sometimes isn’t the best for a few grass weaknesses, but if you had an early Chan with one of muscle band/strong energy/Dojo on Purrloin will fix math for Top's “Finishing combo”, otherwise Lee could set KO on Liepard and Top could wear wide lens. In case Guzzlord is the attacker or you pull out the Guzma in the hole, you have Dojo and strong energy to help have a one hit KO on him.
- Lighting, besides Zapdos’s resistance and Electrivire’s 140 hp, will lose immediately down to Top “Finishing combo” + wide lens if the opponent had to set his draw power Zebstrika/Electrode and his Dynamotors Flaaffy/Elektrik as usually they have to. Wide lens with Garchomp sometimes is interesting in the appropriate matches. It happened to checkmate some lighting lists after an early Zapdos and quick diving for weakness his supports Blitzle and Voltorb. In many cases, however, you always prefer to save Wide lens for Top and preserve your solidity without compromising Chomp.
Remember, if you’re able and smart to place the early damage with Tyrogue, Chan and Lee right, it will fix some important math. Take care of Pokémon’s resistance. There are a few really annoying scenarios in other types. For example, fire with Celebrations Ho-Oh which will also force us to play Machoke for his 50 damage snipe on Gible and Trapinch. Don’t underestimate Lucario’s Missile Jab attack isn’t affected by resistance and can help in this cases.
What comes after the combo?
Finally, we can take the last KOs with our big dudes, but obviously if we are not prepared or we can’t risk our bench barrier in a matchup cause of the possibilities of multiple KOs, we can start a second round of combo and it will be lethal in most of the cases. Just focus on math and the availability of the opponent's cards arrived at this point. It also helps that Garchomp’s attack Quick Dive is a synergistic attack after having done the first combo round. A DCE + previous attachment or Raihan is usually enough to guarantee a KO on a heavy attacker after the completion of the combo.
After 2 rounds of combo the opponent's field will be decimated and with nothing better going on sometimes you will need some lucky Bratty Kicks with Tyrogue. It’s doable with slow starts by our opponent a third round of combo, rarely but possible. Garchomp can take the last ko if you saved your Cynthia or you were able to recover it.
Your opponent had to play a stadium? Flygon will dominate the late game almost by himself. You don’t need bench barrier? Its time for Machamp.
From Chrysalis to Dragon
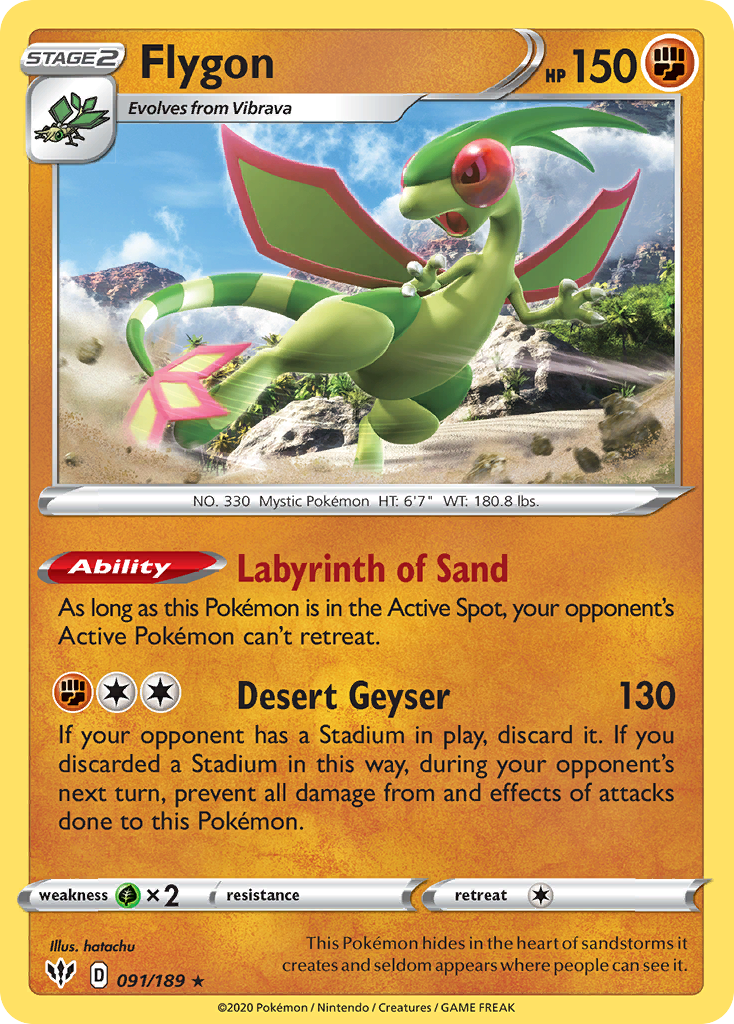
Many teammates for the HitmonBroskys in the past have been: Watch and Learn Sudowoodo, even Kabutops, AT Medicham, but something has always been missing, and everything changed when I tried Flygon. He completes the deck and totally takes it to another level. The strength of his attack (invulnerability) lies in the fact that in order to better develop our strategy we will need our stadiums. These are often annoying for the opponent, such as the ease of the Brooklet Hill in helping us not missing the next Brosky, the increased damage from Martial Arts Dojo or the negation of abilities from basic Pokémons with Silent Lab (especially Bench Barrier). We also have Lusamine to recover them because they can all be good in the late game. By doing that you force your opponent to play theirs. At that point the Flygon takes over. Obviously very dangerous for the invulnerability he will obtain, but also for the ability, which will create some more headaches and thoughts for your opponent who may be forced to play around it with expensive maneuvers.
Often the ability comes in handy for stall situations, where you can Hit and Run multiple times with Chan leaving Flygon in the active spot and trapping someone who can't attack and keeping your tempo for a game winning Lee & Top. I have also experienced scenarios where I deck out my opponent by simply staying active with Flygon. That’s how strong the card is.
Fight my Champ

The card speaks for itself, but you need to be careful in playing it obviously vs snipers such as Raikou, for example, where it could go for the win on the bench. When you are free to play it, his attack (100 + 100 if you do on the next turn he can’t attack) during the late game will be super strong thanks to his insanely powerful ability giving to him +150 HP, and mostly for the completation of the Hitmoncombo that will fix math allowing us to chain “Strong-Arm Lariat” for the first effect. If we need the +100 our Trainers department includes cards like Bird Keeper, Tate & Liza, Guzma, sustained themselves by VS Seeker, Cynthia & Caitlin and Lusamine, with Escape Rope as a 4th immediate out easily grabbable with Korrina.
Matchups
- Grass
Despite weakness, it is a favorable match if everything goes smoothly, but we know how fast can be grass. Here we combo twice and chain some Chan-Lee action if it’s needed. Lee on the threat, usually Thwackey/Ivysaur and in some cases Roselia. Kill the evolutions, leave Torterra alone with the Genesect and Zarude, and if we can punish stadiums we can sleep peacefully. Kricketune fainting after two rounds of combo will be devastating for them. Machamp will be our last bastion that can lead us to victory.
Leavanny variants must be stopped as soon as possible. And it’s not easy cause of Swadloon’s ability reducing damage for 30 so our Lee on him will be 60 = 10 short. Grindy games for sure if happens.
- Psychic
Doable in my opinion against the main variant, where we need accurate plays on Dreepy and Ralts, probably shutting down Mew from Unbroken Bonds with Silent Lab and chaining it if they bump it on the Lee turn; harder vs Dusknoir that if they have already damage around they could still move damage on active. I had a lot of games where a good player took multiple KOs even with Machoke in play. Gusting Machoke and transfering damage on it and killing it like that, but even without gust, if they already have some damage around maybe you promoted a doll, they transfer 3 on it, you have to promote another thing, maybe Tyrogue? They have 120 damage around in some ways, they kill Tyrogue transferring 60, and they also take KO for turn with their active Pokémon. It happened to me multiple times in testing. This is a match where Flygon must go up on the teacher’s desk and probably not the best to show Machamp. At the end psych is not the worst matchup, you have answers but you need to take care of a couple of cards depending on the variant.
- Metal
One of the hardest if we start slow and can be really tough specially without Field Blower. Damage reduction tools in play will screw us a bit but with the amount of stadiums metal plays he will for sure fall down to Flygon at some point. Lee on Bronzong is nice to slow down a fast start, even better going for Copperajah which will need heal in order to attack or Meltan. Ingot Swing is hard to deal with, the only out is Cynthia + Garchomp. Get rid of it early. If it’s a tanky list with Aegislash take care of it. Place your Muscle Band and Strong Energy in the right place.
- Dragon
Huge basics and strong stage 2s with the accuracy given by Dragonite. However a good player will bench a few at the time and playing with tempo Raihan and energy attachments, they will need their consistency, so Lee can always take care of Dragonair and Gabite cause dragon has no bench barriers. Playing around Drampa isn’t easy and somehow impractical, make your decisions based on the situation. Recently dragon adopted Lost City has a stadium and here we need to bench our Broskys with much more care. Another match where Flygon can easily punish. Machamp can make the difference too.
- Fire
Magcargo is the Hitmonlee target. Lee could also hit Ho-Oh (-30 resistance to fight) on the bench, he’s annoying for that and for his snipe attack. We will need Machoke early in presence of the phoenix, but mostly for Heatmor (90+180 to a Pokémon on the bench). They play Cape of Thoughness and Fighting Fury Belt, plan maybe a second round of combo or chain Chan/Lee for some turns. Finally with Dojo behind prizes we can take KOs with Top until 100 hp +20 Muscle band = Salazzle, Castform, Magcargo, Heatmor almost Entei or on Charizard if Lee went on it. Flygon is strong, Machamp too, but be sure that you don’t have to deal with Heatmor. Two maybe three rounds of combo sometimes are needed vs a good player that plan well his benched Pokémons. Fire now with Charizard has the ease of pulling out attackers out of nowhere.
- Rain Dance
Usually most Rain Dance don’t play Manaphy. Place well your damage and the match is easy, but don’t understimate it. You could get sped up by the water engine with his accuracy and he Boss with ko on your Garchomp while you're doing the combo. Keep calm and hit the bench, build your untouchable Vibrava and our mountain, Machamp. Mostly they play Chaotic Swell, sometimes Rough Seas. Dojo could get annoying for him and Flygon could take over.
- Kyogre
A good pilot makes the difference, when I face Kyogre its not a pleasure. Be quick in setting up Machoke, and even with him in play you can get Hex Maniacked twice in a row and losing the game there, but usually I can build a solid win with the Broskys against it. Tyrogue can KO Feebas with a cheeky coinflip or Chan by a lucky rope or Guzma, can reach 70 dmg really quickly and target Sobble or Remoraid. Hitmonlee has the plan to target drizzile as soon as possible. Cut his accuracy. Top will do the rest. Early Garchomp with Quick Dive isn’t at all a bad idea with a proper plan. We could have forced his stadium by playing Silent Lab on his Manaphy, and in this cases Flygon is always our friend. Hoping our opponent will replace it without the use of Field Blower. With Machamp now we have another way too, by benching a few knockouts to have his ability activated, always with the risk of being Hexed. Be careful and plan it calmly. I’m trying to be optimistic PauseChamp.
- Colorless
We talked above of some situations. The match is favorable for the weakness but we don’t have to take care of bench barriers, and if you run wide lens it almost makes it free. Birds could be really annoying. Control Colorless is free if you do your things, don’t hurry but don’t chill too much, multiple KOs for that build means he loses the entire setup. In case of lock we still could have Garchomp & Lucario combo forcing him a loop with Hex Maniac every turn. The spiteful child Tyrogue can flip for days.
- Darkness
We have also talked about this above. If you feel like going first do it, Hoopa's donk is always lurking, be careful. Usually this matchup and against Lighting are probably the only matchups I go second, especially Lighting even if I don't mind having Machoke early for Raikou which can often make his appearance beginning turn 2. Don’t let Guzzlord overtake, we all know how nasty that could be. Ability lock isn’t that bad, dying by poison does not trigger Raihan or Teammates, but we take it, hoping to have live cards.
- Lightning
I expressed enough on it. We can lose if he wins the coinflip and we have an unlucky start. Cut his ways to do Raikou and his draw power. Free with Wide Lens in the list, hoping he doesn’t draw crazy well with gusts and switches with Zapdos.
- Fighting
Lost Zone Fighting will make us deal with Barbaracle, which we could play around with Peonia and we will need to be ready with Lee on Machop. Earthquake attackers will help us a bit in our strategy same as Roaring Resolve Lucario.
- Mirror
The mirror could be really tricky and has some interesting strategies. This list can punish the use of stadiums, which the Brosky love to use. The turbo variants makes great use of it with speed cards such as Pokéstop and Rose Tower and also due to the presence of Terrakion which will need a stadium in play to deal more damage. A very important mission is to be the first to setup Machoke and the first to take out Machop. If you see you will not succeed with the combo in this, set up the big dudes, ascend with Gible, gain solidity and play it chill. In the turn of the opponent Hitmonlee you could choose to propose Machop in the active spot to avoid the 90 damage (gusts or Escape Rope allowing), if you have to do it, plan a switch or a retreat via Bird Keeper, Escape Rope, Guzma or Tate and Liza for the next turn and evolve as soon as you can. It’s really a grindy matchup and enjoyable to play.
- Fairy
Fairy has bench barrier and it should not be underestimated. We have answers. Chill, don’t miss and dodge xMertaugx.
Last Thoughts
Sincerely at last, I can say, besides being a fighting type, the deck is consistent and needs so little to be powerful. Could be tight on the Evolution Pokémon searches, but the deck wants to be consist on the combo since T1 and not miss. You don’t want to see Evosoda or Timer Ball then. Someone might prefer playing Brigette or Gloria, if you have it in the right time sustained by other cards you need in that turn, play it, some don’t like Colress or Research. My line of supporters are aligned with my style and for me this is what I found more synergistic. The choice of playing just Guzma and not Boss’s Orders it’s also part of a decision when I play GLC, I play both when it’s really required or if you can really take advantage of it. Lusamine, Teammates, Raihan are already 3 dead cards we don’t want to see in the early game. I can see arguments for Klara but it belongs to the same category as the last mentioned. Field Blower it’s my 61 card most of the times when I build. I know you love it, same for me, but in my style I can play without it even if it’s nice to have in this kind of deck especially for removing damage reduction tools. It’s part of your choices and your style.
Over time you will gain experience and discover the subtleties of this list by yourself. Things like making good use of the supporters, often preferring one to the other, changes a lot in order not to miss combos. The list of interesting cards for this archetype does not end here, with a different synergy in your 60s you could like Gutsy Pickaxe, Ninja Boy, Robo Sub, Focus Sash, Fighting Fury Belt, Karate Belt, Stone Energy, Maxie’s Hidden Ball Trick, Grant could synergize with this last one. I didn’t try Lake Acuity to force another stadium for Flygon yet and I think Lost City is counterproductive and risky. We don’t want any of our Broskys in the Lost Zone by his double edged effect. We are not afraid of anyone but of Lost City you have to be careful and sometimes it can be inevitable.
Based on the Hitmoncombo strategy I also want to remind Tzuubi’s wonderful turbo variant which we talked previously in a spotlight, go check it if you missed it, and Andrew Mahone’s concept with “Ancient Power” Archeops and Maxie’s Hidden Trick Ball makes it unique. I hope to see some of this lists around.
Fighting took a real upgrade from Lost Origin. We always talked about the lack of draw power, but if we really take a look at his cardpool it’s really large. Capable of adapting through metas and with a wide choice of archetypes, it can deliver low blows and uppercuts with such a little effort. Fighting isn’t at all a bad type now and to be honest I never thought I'd say that.
Decklist
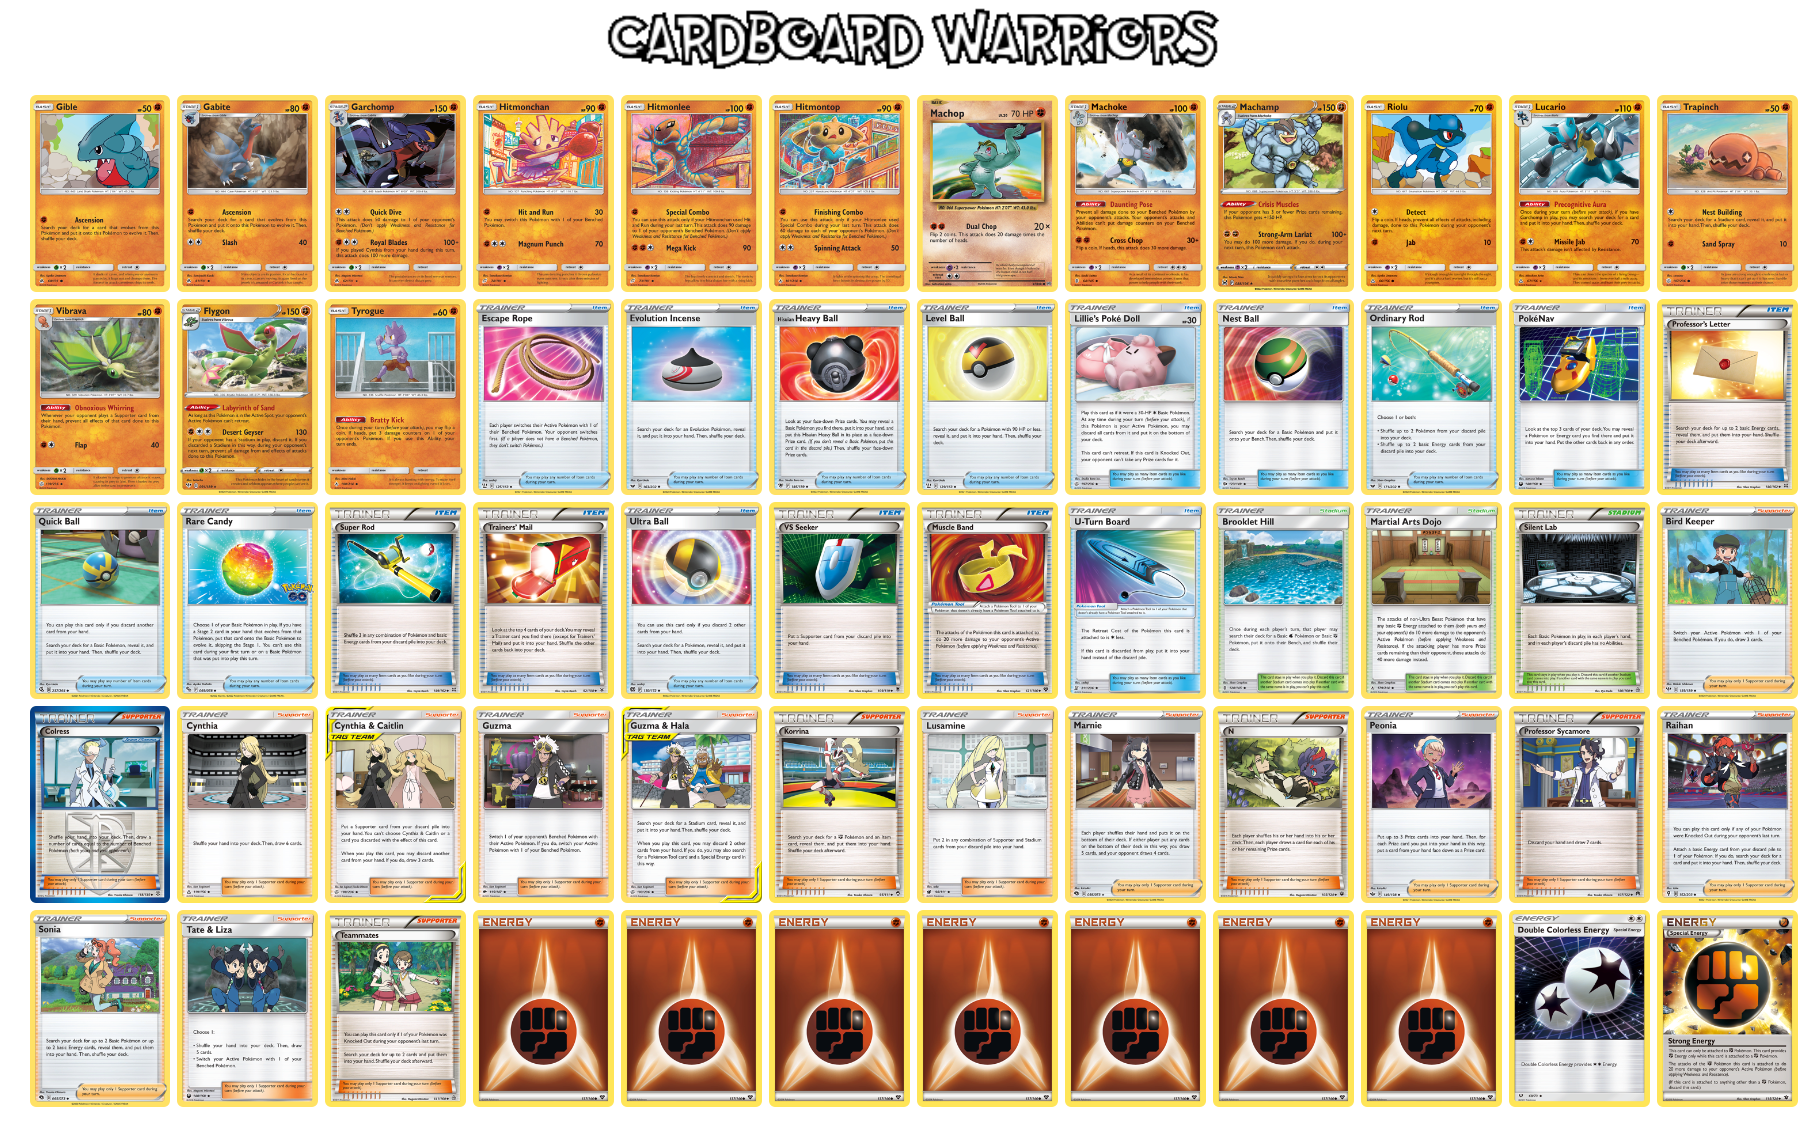
##Pokémon - 15
- 1 Gible FLI 60
- 1 Hitmonchan TEU 74
- 1 Hitmonlee TEU 73
- 1 Hitmontop UNB 101
- 1 Machop EVO 57
- 1 Riolu UPR 66
- 1 Trapinch CEC 107
- 1 Tyrogue UNB 100
- 1 Gabite FLI 61
- 1 Lucario UPR 67
- 1 Machoke GRI 64
- 1 Vibrava CEC 109
- 1 Flygon DAA 91
- 1 Garchomp FLI 62
- 1 Machamp LOR 88
##Trainer Cards - 36
- 1 Professor Sycamore STS 114
- 1 Tate & Liza CES 166
- 1 N FCO 105
- 1 Cynthia & Caitlin CEC 228
- 1 Super Rod DRV 20
- 1 Brooklet Hill GRI 120
- 1 Bird Keeper SHF 66
- 1 Sonia RCL 192
- 1 Evolution Incense SSH 163
- 1 Lusamine UPR 153
- 1 Peonia CRE 196
- 1 Marnie SSH 200
- 1 Colress PLS 135
- 1 PokéNav CES 181
- 1 Escape Rope PRC 127
- 1 Professor's Letter BKT 146
- 1 Nest Ball SUM 158
- 1 Silent Lab PRC 140
- 1 Teammates PRC 160
- 1 Cynthia UPR 148
- 1 Level Ball AOR 76
- 1 VS Seeker ROS 110
- 1 Guzma BUS 143
- 1 Lillie's Poké Doll CEC 267
- 1 Martial Arts Dojo CEC 268
- 1 Ultra Ball BRS 186
- 1 Korrina FFI 111
- 1 Hisuian Heavy Ball ASR 146
- 1 U-Turn Board UNM 255
- 1 Quick Ball SSH 216
- 1 Rare Candy PRC 135
- 1 Muscle Band XY 121
- 1 Raihan EVS 202
- 1 Ordinary Rod SSH 215
- 1 Guzma & Hala CEC 229
- 1 Trainers' Mail AOR 100
##Energy - 9
- 1 Strong Energy FCO 115
- 1 Double Colorless Energy HS 103
- 7 Fighting Energy SMEnergy 6
Total Cards - 60