Single Strike GLC Deck
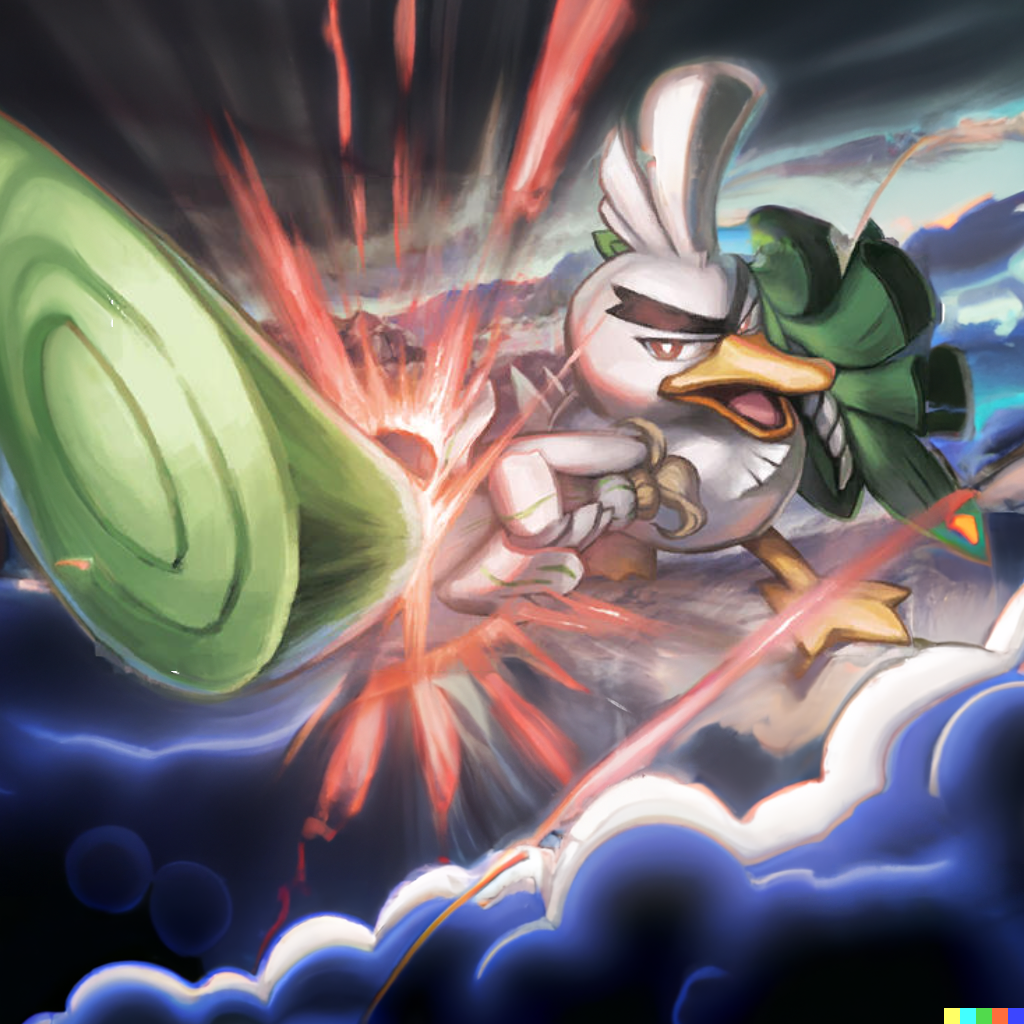

Picking Fights with Single Strike
There are quite a few GLC decks that have become “optimized” through lots of consideration and testing throughout the community. These decks have all become part of the overall Meta and you will see them pretty regularly on any given day or in any tournament you may be playing in. All of the heavily played decks are great and they all have their place in the meta and rightfully so, but I kind of wanted to highlight a deck I’ve been working on that is more of an underdog and that uses a mechanic that has so far been largely overlooked. I have spent a good amount of time building and testing this deck and have really been enjoying its quirky and fun play style. I really think you’ll have fun if you give it a try as well.
A lot of GLC trainers have built decks around the more popular Rapid Strike mechanic in GLC and it makes sense since Water type already has some of the most powerful cards in the game to deck build with, but I haven’t seen a lot of time given to the Single Strike mechanic so far and it’s kind of a shame because SS definitely has some really great cards to consider and to build around.
I honestly started building this deck idea on accident. I was just trying to build a fighting deck one day and noticed I was adding some of the SS fighting Pokémon to what you might know as kind of an Earthquaker list. Then I put some Single Strike Energies in the list to buff those Pokémon’s attacks and then it dawned on me to build a deck solely around the whole SS mechanic, seeing as there are a ton of SS cards to play around with, it became a fun deck to really lean into and truly make a Single Strike concept come to life. A quarter of the cards in this list are SS cards and they all work together to make one super fun and satisfying deck to play.
Pokémon
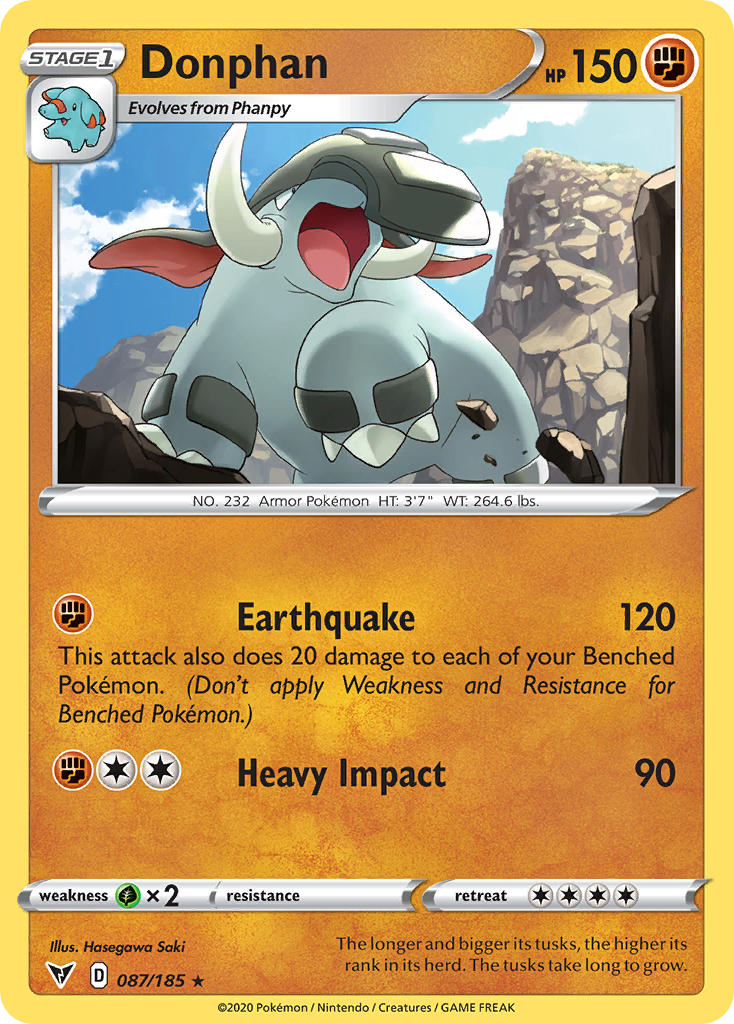
The name of the game in SS fighting is to buff your Pokémon’s attacks and hit for big numbers all while setting up your late game attackers to keep hitting for big numbers throughout the game. Your optimal start is going to be setting up Donphan. Phanpy and Donphan are the only 2 Pokémon in this list that are not SS, but Donphan is just too powerful not to include. It is a stage 1 with 150 HP and for a 1 fighting energy cost it does 120 HP of damage. Making it very easy to setup early game and to take an important early KO. Unfortunately, it also does 20 damage to each of your own benched Pokémon. Ouch! But don’t worry, it’s all part of the plan.
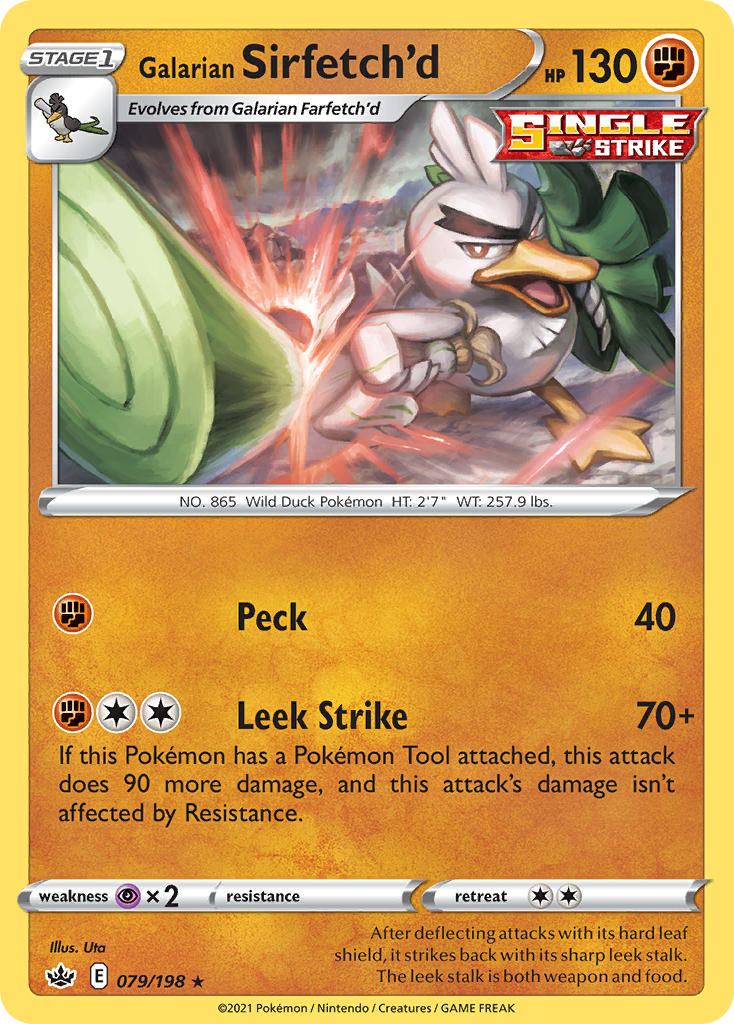
If you can you’ll also want to setup your Galarian Sirfetch’d. This Pokémon takes a bit more setup, but hits for big numbers and can take out most any opposition Pokémon you’ll come up against. You’ll be wanting to use its second attack “Leek Strike” that has an attack cost of 1 fighting and 2 Colorless. The attack is a bit more energy hungry than other attackers in the list, but can be offset with a Twin Energy or a Double Colorless Energy to give it just a 2 attachment attack. This attack does 70 +90 more damage if this Pokémon has a tool card attached to it for a total of 160. To fulfill this requirement, we play multiple tool cards in the list to make sure we’re hitting for max damage. One inclusion that works well is Exp. Share. Your starting Pokémon is likely to already have a fighting energy attached and if it gets knocked out, the energy now attaches to the Sirfetch’d giving it both the tool requirement and an extra energy needed to power up it’s attack. Additionally, any of the other 4 tools, Bodybuilding Dumbbells, Muscle Band, Float Stone or Karate Belt, can also be used in a pinch, since you’re likely to have one of the five tools in your hand at any given point. Karate belt can be useful if your opponent took the first KO, because now you need 1 less fighting energy to power up the attack. Just be aware that if you take a returning KO, on the following turn you will need another energy to fulfill its attack cost again if you now have the same amount of prize cards as your opponent.
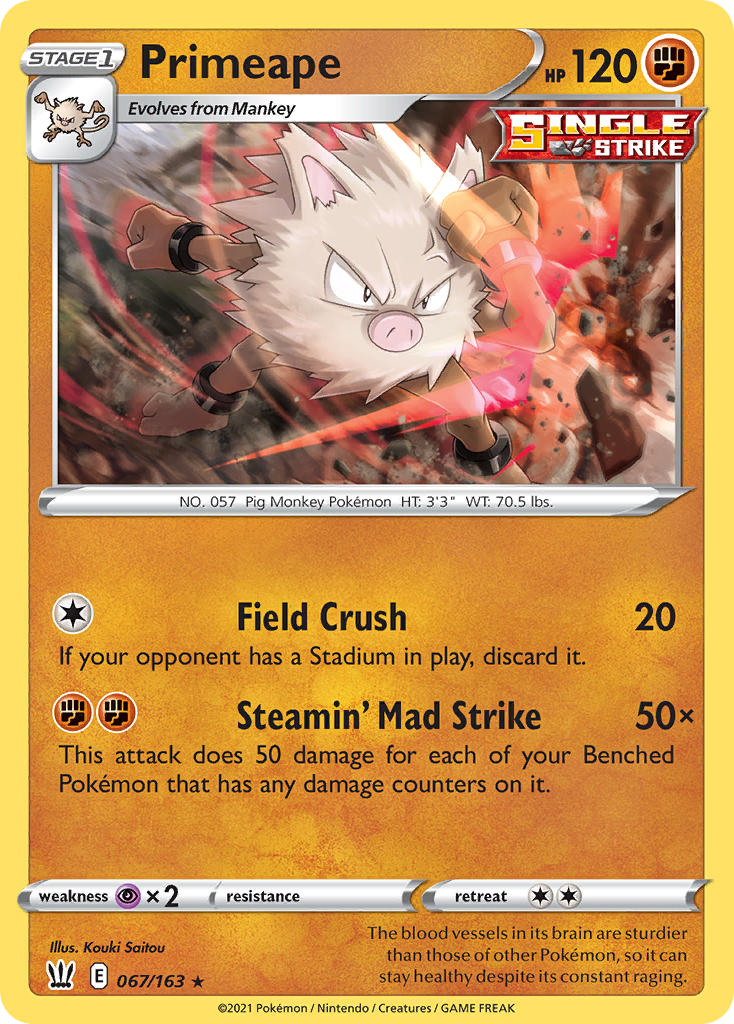
Hopefully during your first couple of turns you got a few Pokémon out onto your bench to take full effect of Donphans bench damaging attack, because another heavy hitting attacker we have in the list is SS Primeape. Its attack depends on our own benched Pokémon having damage counters on them to power up its attack. Primeapes “Steamin’ Mad Strike” does 50x the amount of your own benched Pokémon that have any damage counters on them. Perfect scenario it could be doing 250 damage for 2 fighting energy, not counting any of the other attack buffs that SS has to offer. If Donphan didn’t have a chance to damage all of your benched Pokémon on it’s attack, that’s okay, we have a failsafe in Damage Pump, letting us move some damage around our own board to take full advantage of Primeape’s attack. Additionally, it could move 2 damage counters off of a damaged Pokémon to take it out of range of a KO in some circumstances.
The other 3 Pokémon in the list are somewhat less explosive as the others mentioned, but have some good synergy with the deck in that they are all SS cards and with buffs or the correct circumstances can be pretty good too.
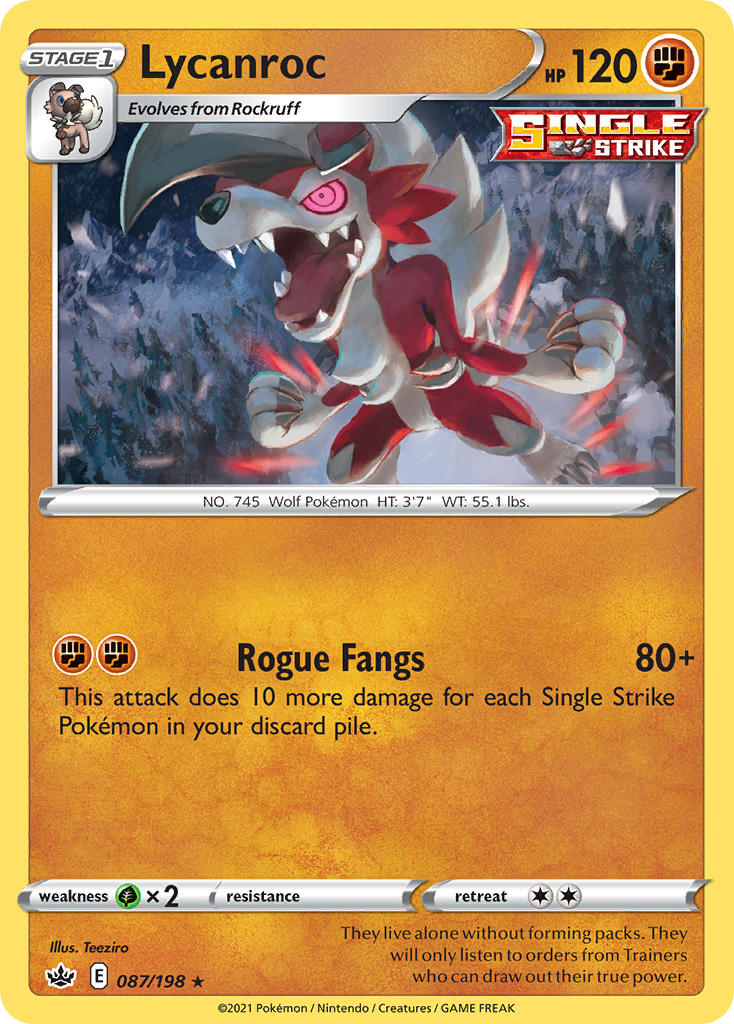
SS Lycanroc for 2 fighting does 80 +10 for each SS Pokémon in your discard. So late game after your opponent has KO’d a few of your Pokémon, it’s just adding to the amount of damage it can do. It can be a sneaky comeback attacker.
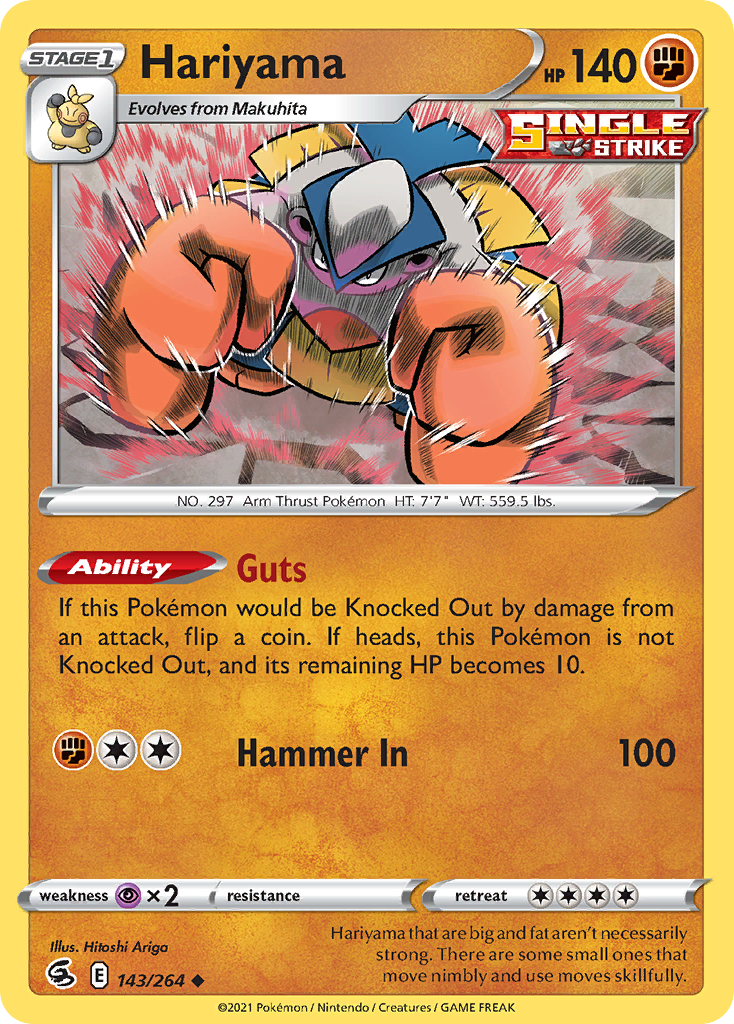
SS Hariyama’s attack leaves something to be desired as it’s 1 fighting 2 colorless attack only does 100 damage and seems a bit too hungry for such a low damage output, but considering it can utilize double colorless or twin energy and a SS Energy/Strong Energy + Muscle Band, it can be hitting relevant numbers of 140 if you can power it up, not counting any of the other attack buffs the deck has to offer. Also, it has a good ability: (If this Pokémon would be knocked out by damage from an attack, flip a coin. If heads, this Pokémon is not knocked out, and it’s remaining HP becomes 10.) This can be great to take multiple KO’s with if you get lucky on coin flips. Anyone who has played against Dragapult in GLC can attest to how devastating this ability can be.
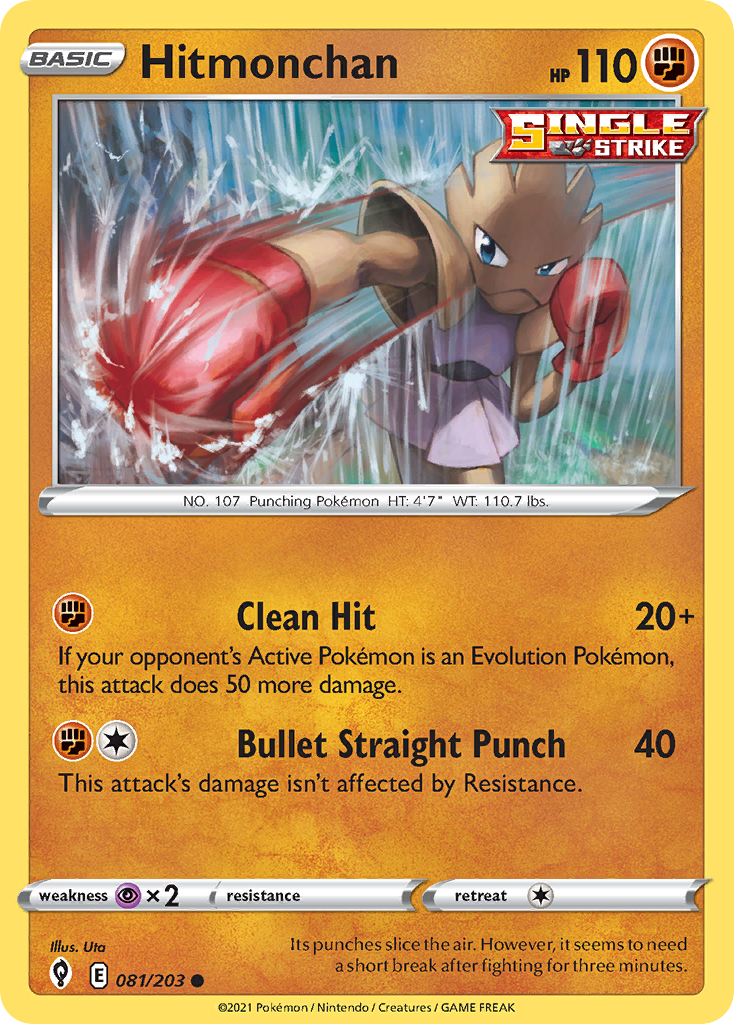
Our Final Pokemon is SS Hitmonchan, which can be used in 2 ways. First, as an early 1 energy Donk. If you can get him setup with a SS energy or Strong Energy + muscle band it can hit for 60 damage early on for a single energy. If your opponent’s defending Pokémon is an evolution, the attack does 20 +50 more as an added benefit. Second, where I have found him to be the most useful is late game, because it’s pretty likely you’ll be hitting into an evolution defender. So, it’s doing 70 base damage for 1 energy then add muscle band, SS Energy/Strong Energy that puts it to 110. Now here comes the really sneaky Karen’s Conviction. Doing 20+ more damage for every prize card your opponent has taken. Making this one energy attacker able to hit very high numbers out of nowhere to catch your opponent by surprise. A lot of times you only need the Karen’s Conviction with no other buffs for your attacks to be reaching high numbers late game. With no added buffs, if your opponent has taken only 3 prizes you’re hitting for 130 for 1 energy on a basic Pokémon and it only gets better with the other buffs that the list has to offer.
Important Trainers
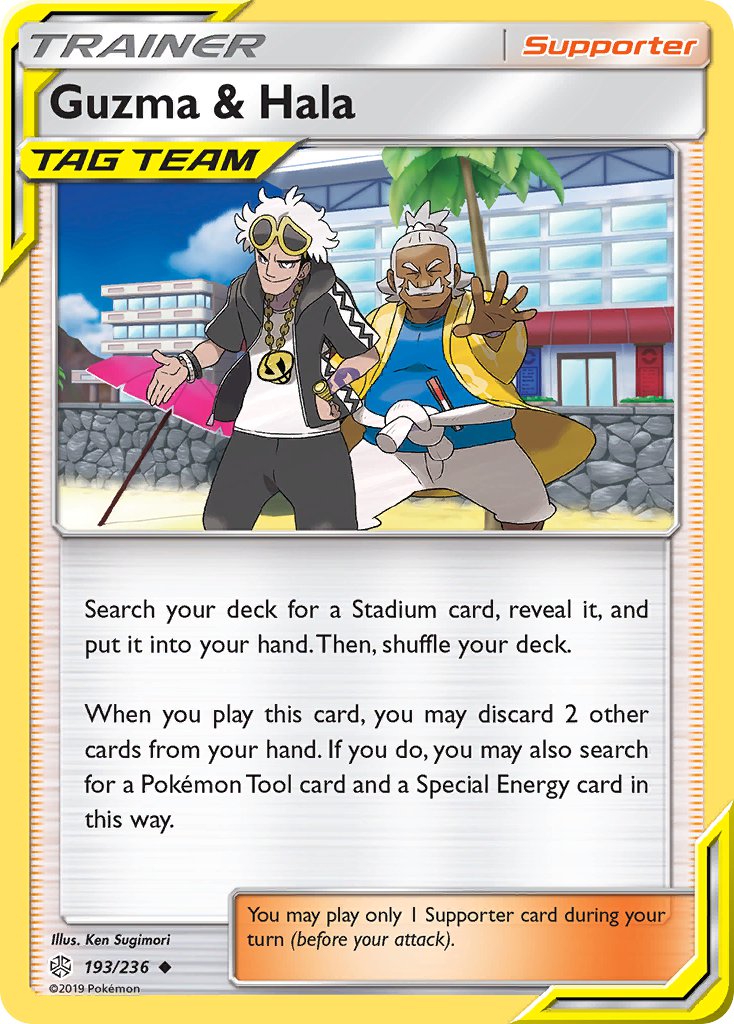
Probably the most important supporter in the list is “Guzma & Hala”. It can almost single handedly setup your Galarian Sirfetch’d. You can grab any of the stadiums that you want, but more importantly you can grab the tool card and the double colorless energy needed to set up the Sirfetch’d attack. We play a Tag Call to help find Guzma & Hala as well.
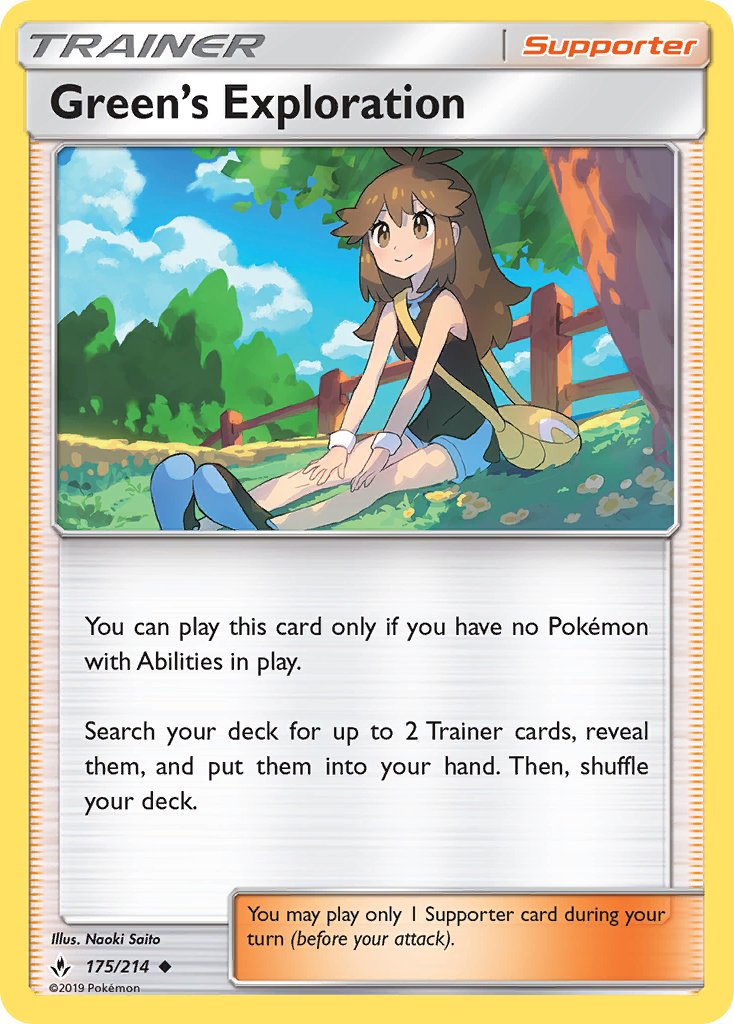
Another great supporter in the list is “Green’s Exploration”. Since the only Pokémon in this list that has an ability is Hariyama you’re bound to be able to play this supporter and grab any 2 trainers from your deck at any time. Just make sure not to play down Hariyama before you try playing this card.
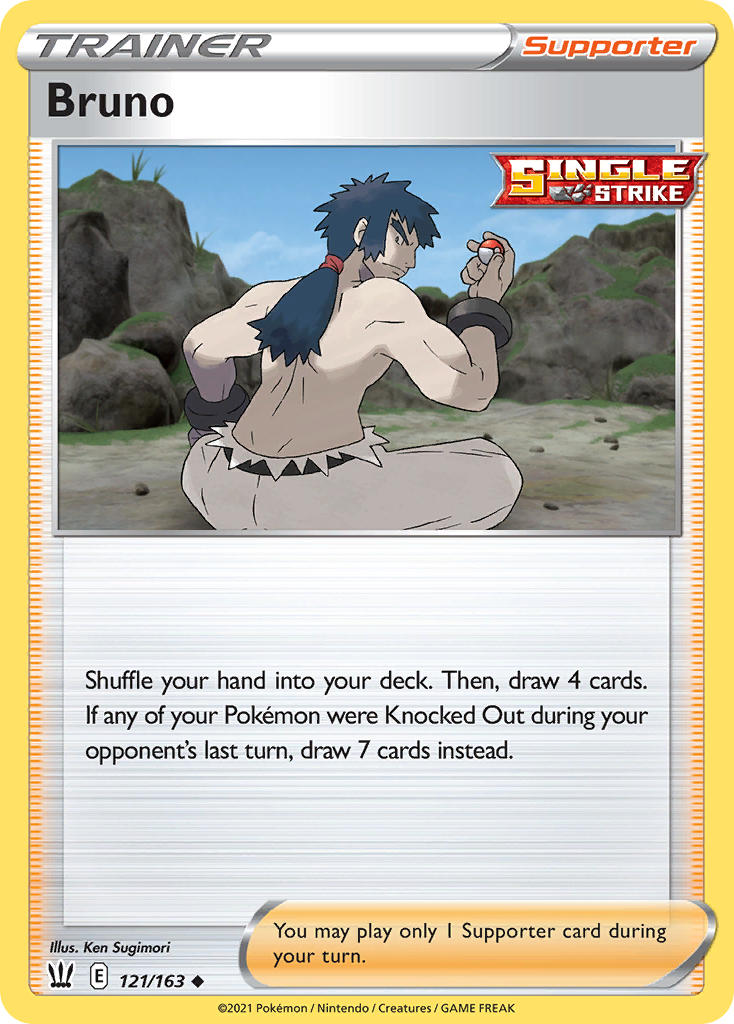
Bruno makes the list because not only is it a great draw supporter, especially if your opponent took a KO last turn and then lets you shuffle draw 8, but it can be used multiple times by recovering it with Welcoming Lantern or VS Seeker. Additionally, if you have another good draw supporter in your hand you can discard Bruno with the Tower of Darkness stadium to draw 2 extra cards and then use the other supporter instead to dig into your deck. Since you have a couple of ways to recover Bruno from the discard, it doesn’t feel too bad to pitch it to see a couple extra cards on your turn.
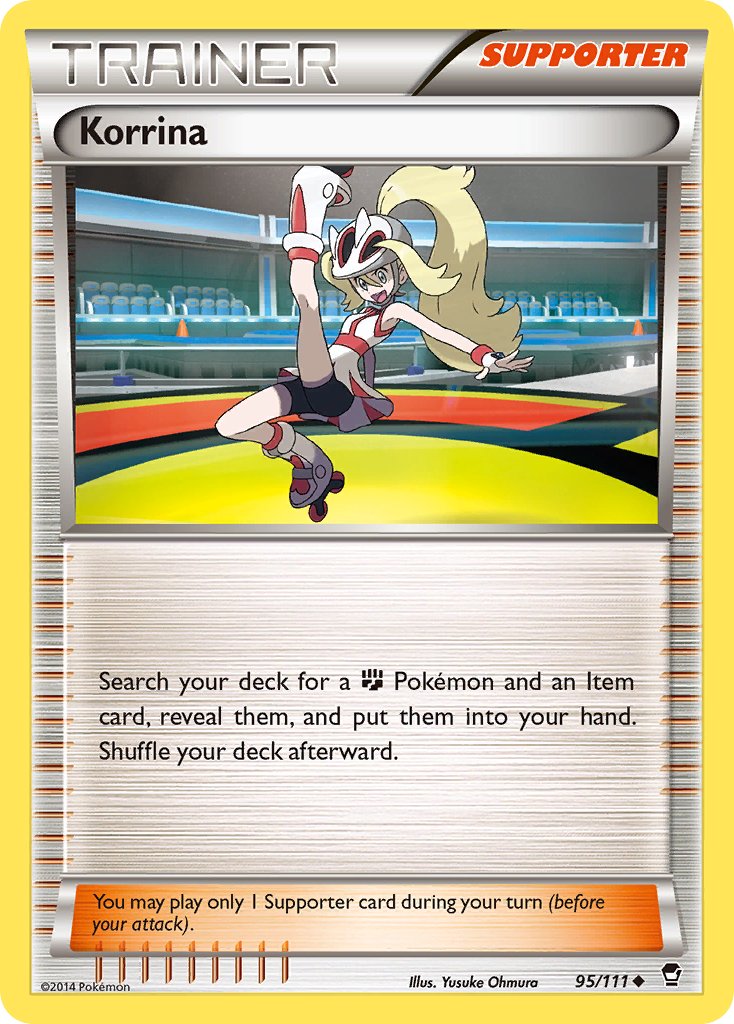
Korrina is included to search your deck for any fighting Pokémon and an item card. It’s self-explanatory, but very powerful in any fighting deck.
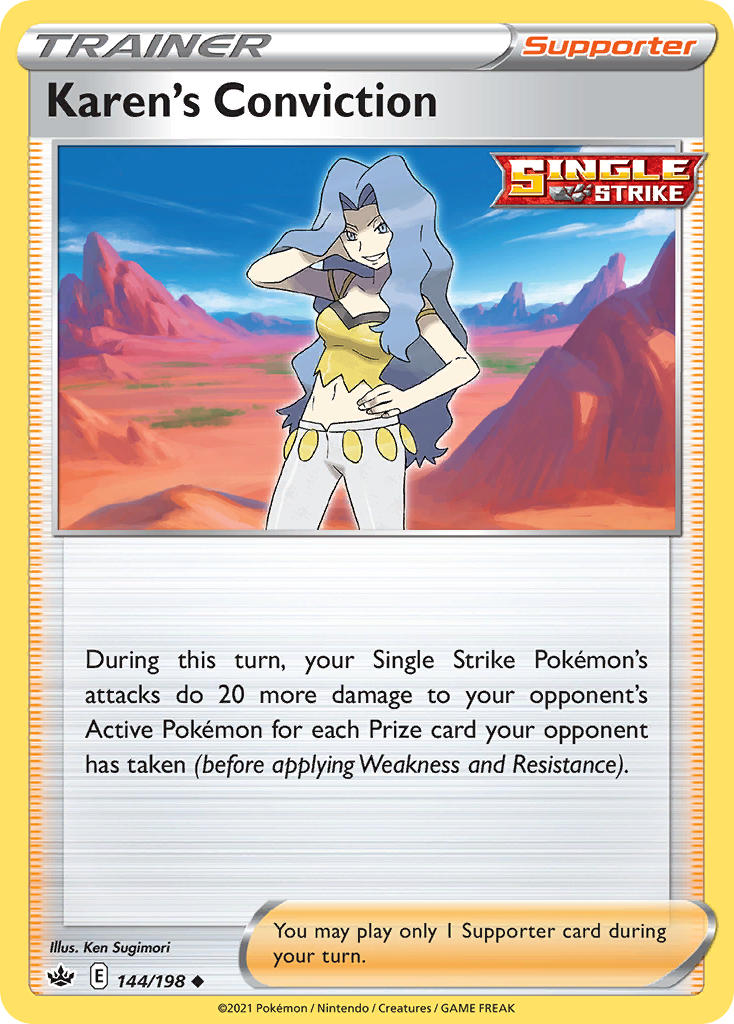
Karen’s Conviction is the perfect late game attack buff for fighting. During your turn your SS Pokémon’s attacks do 20 more damage for every prize card your opponent has taken, but it’s also a really good card that you can pitch with Tower of Darkness early on to draw cards, since you’ll be able to recover it later on with Welcoming Lantern or VS Seeker. Because of these recovery cards you’re also able to sometimes use Karen’s Conviction multiple times in a game.
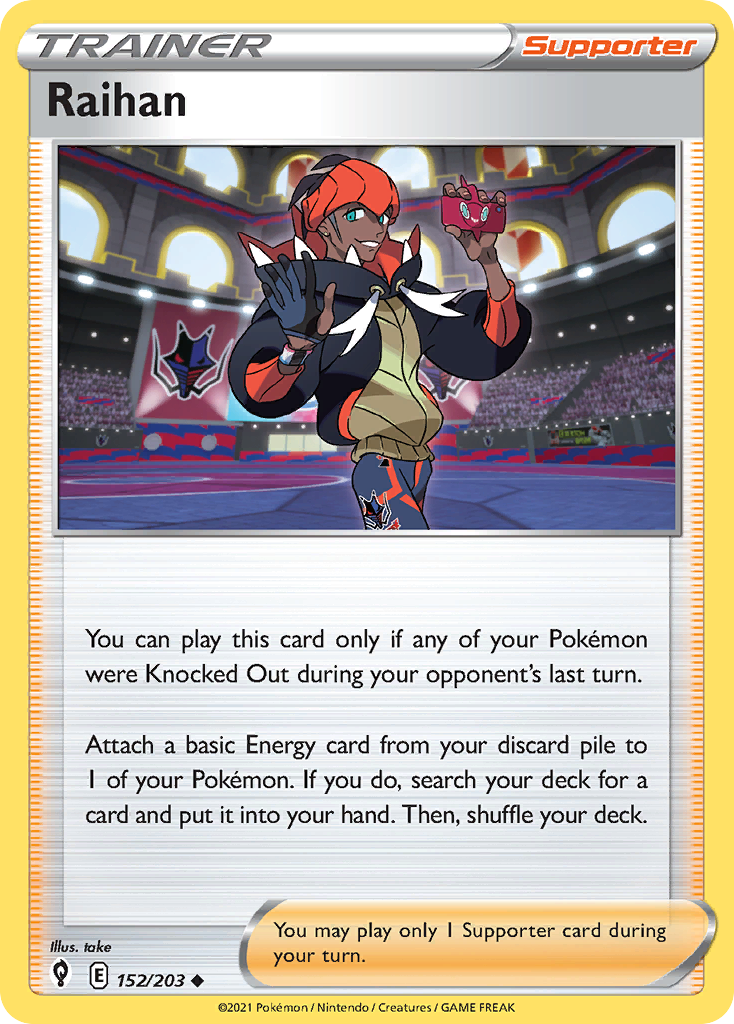
Raihan is important because you are relying on some pretty energy hungry attackers that must be powered up by attaching from hand and it can really help you keep your momentum by attaching an energy from discard and grabbing whatever else you need from your deck.
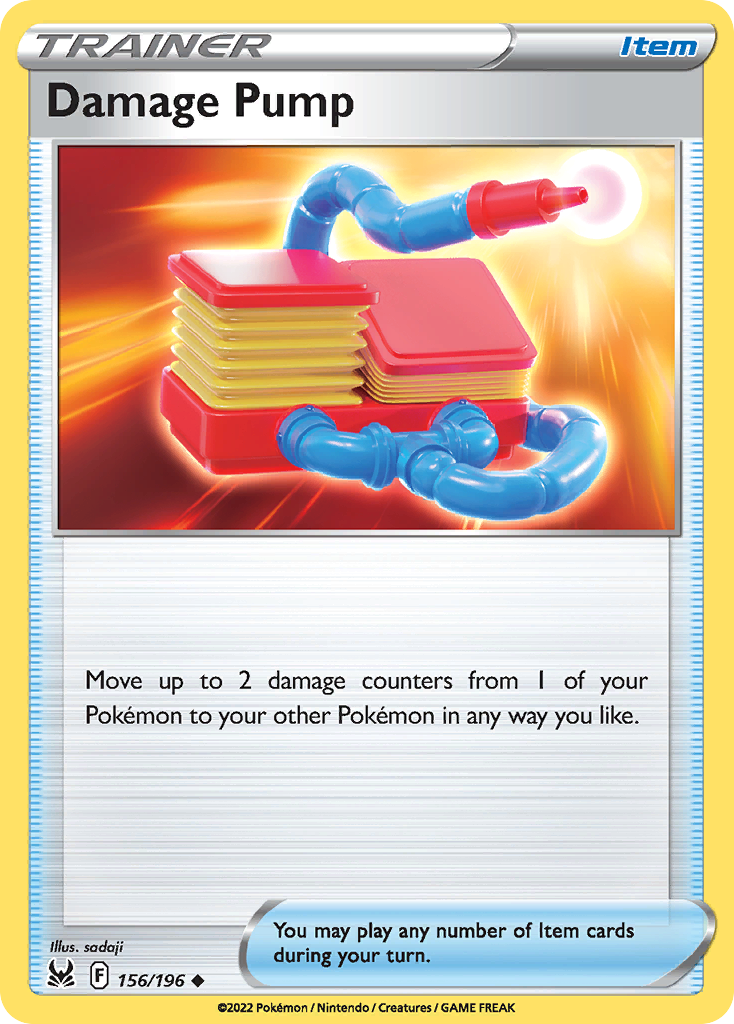
Damage Pump can be used to move energy around your own side of the board to get the most out of your Primeape attack.
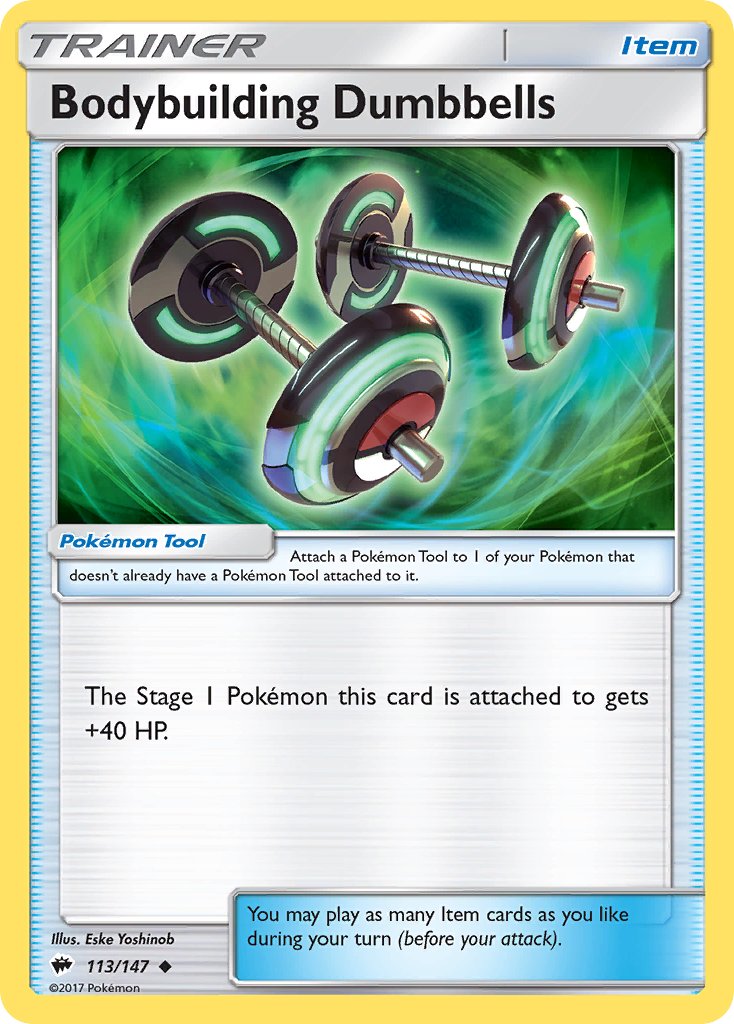
Bodybuilding Dumbbells is a really great tool card in this list. All of the Pokémon in the list except for Hitmonchan are Stage 1’s and it’s effect of +40 HP to any Stage 1 Pokémon is putting even your lowest HP Pokémon up to 160HP and it’ll put Donphan up to 190HP!
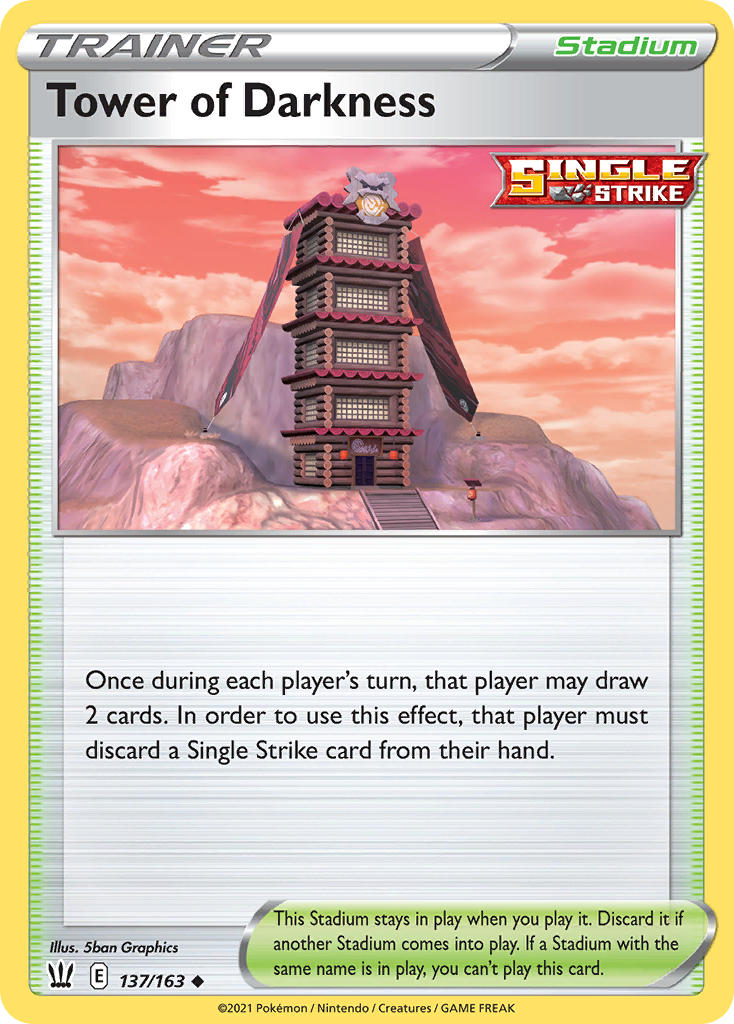
Tower of Darkness Stadium card is a really great addition to this list. If you can get it to stick for a few turns you’ll have enough other SS cards in the list to consistently be drawing extra cards throughout the game. One of Fighting’s biggest problems is no real draw support and this card just helps mitigate the problem.
Because you are going to be using Tower of Darkness to discard some of your SS cards, we play a few different recovery cards to make sure we can get a lot of those things back. We play Ordinary Rod and Super Rod to get our Pokémon and basic energy back and we play Special Charge to recover any Special energy we may have pitched as well. Welcoming Lantern lets you recover any SS Supporter from discard to hand and VS Seeker also lets you grab any supporter out of your discard to your hand. These 2 cards cannot be understated in their utility.
As stated before, Fighting has no real draw support Pokémon so we are stuck using only supporters to do all of the drawing work for us. To keep this as consistent as possible I like having both PokeGear 3.0 and Trainers Mail in the list to help search out supporters from the deck.
Special Energy
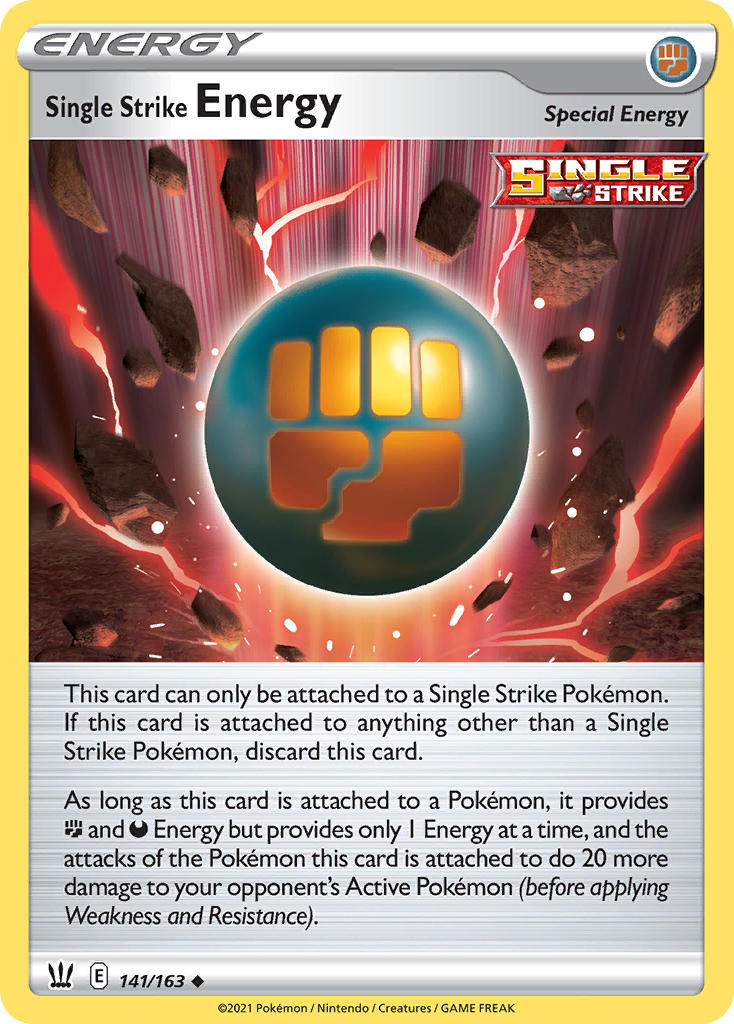
We have some great special energy to play with in SS Fighting. Single Strike Energy buffs your attack by +20 from any SS Pokémon. Strong Energy has the same effect of +20, but can be attached to any Fighting Pokémon. “Stone Energy” makes your Fighting Pokémon take 20 less damage. SS Impact Energy doesn’t allow your Pokémon to be poisoned and is often used as fodder for Tower of Darkness to draw cards, but can be useful against poison decks. Twin Energy and Double Colorless Energy let you attach to Sirfetch’d or Hariyama for their 2 colorless energy consumption. All of the special energies in this list really make the whole deck function as a heavy hitting deck.
Other Cards of Interest
A couple of cards I have thought about maybe adding to the list are:
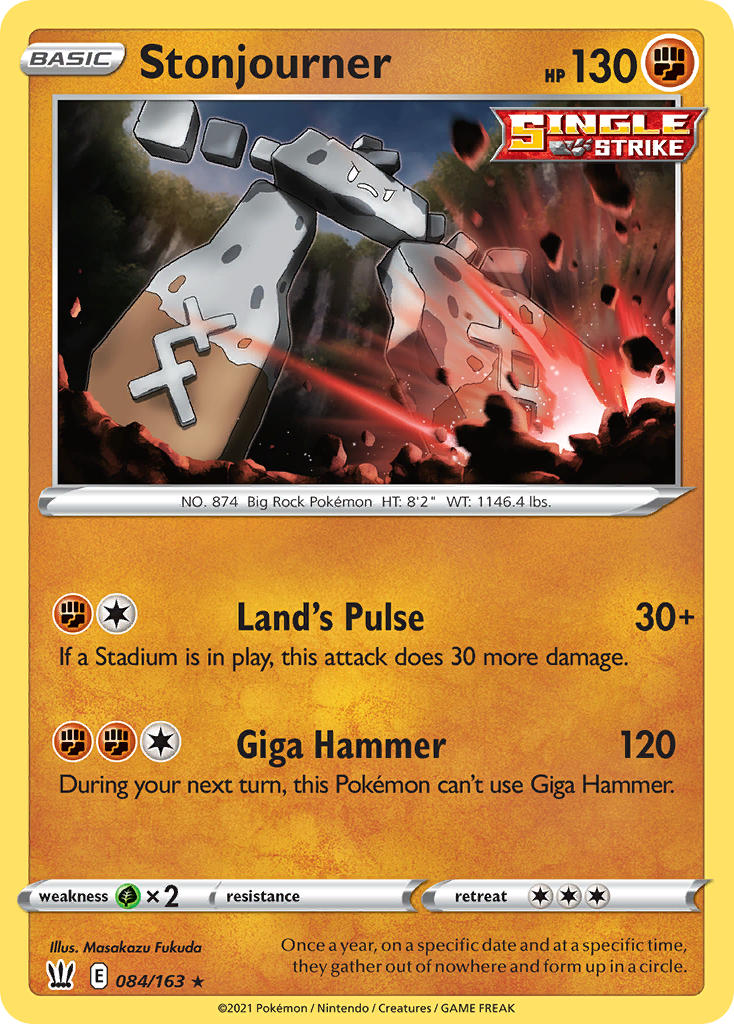
SS Stonjourner. It could possibly be a good attacker if you can get enough energy onto it, but it’s “Giga Hammer” attack costs 2 fighting and a colorless, does only 120 base damage and can’t be used two turns in a row. There just isn’t a lot going for it, but it is another SS Pokémon so it might be fun to add.
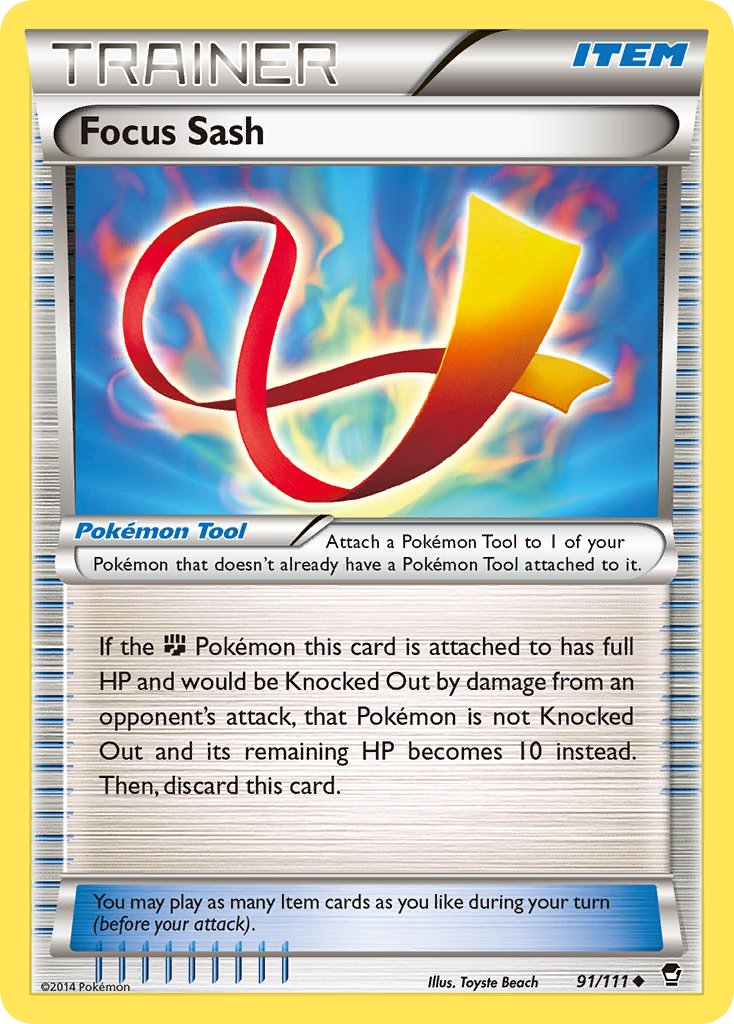
Focus Sash. (If the fighting Pokémon this card is attached to has full HP and is knocked out by damage from an opponent’s attack, that Pokémon is not knocked out and it’s remaining HP becomes 10 instead. Then discard this card.) I could see it being a nuisance and would also have the added benefit of being another tool card for the Sirfetch’d attack requirement. It would probably be used pretty situationally, but could be something to tinker with.
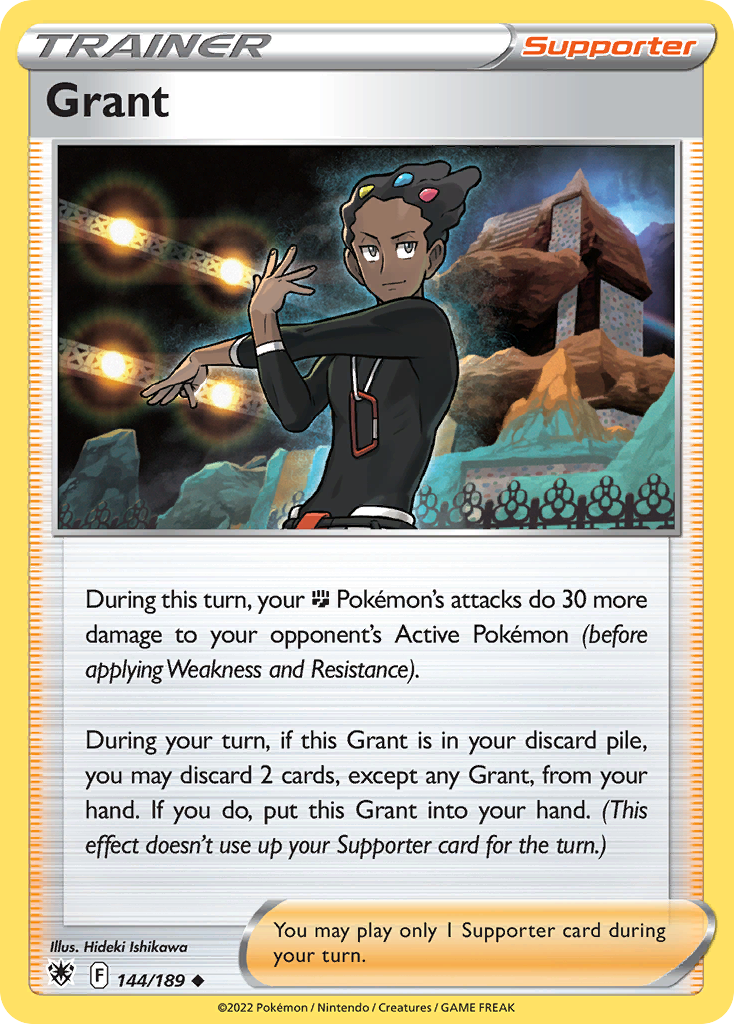
Grant is a great supporter that can add 30 damage to your attacks and has an ability to be able to be recovered anytime from the discard to your hand and might be something to think about in this list since we are really trying to add damage buffs constantly. It could also be overkill, but it’s definitely something to think about.
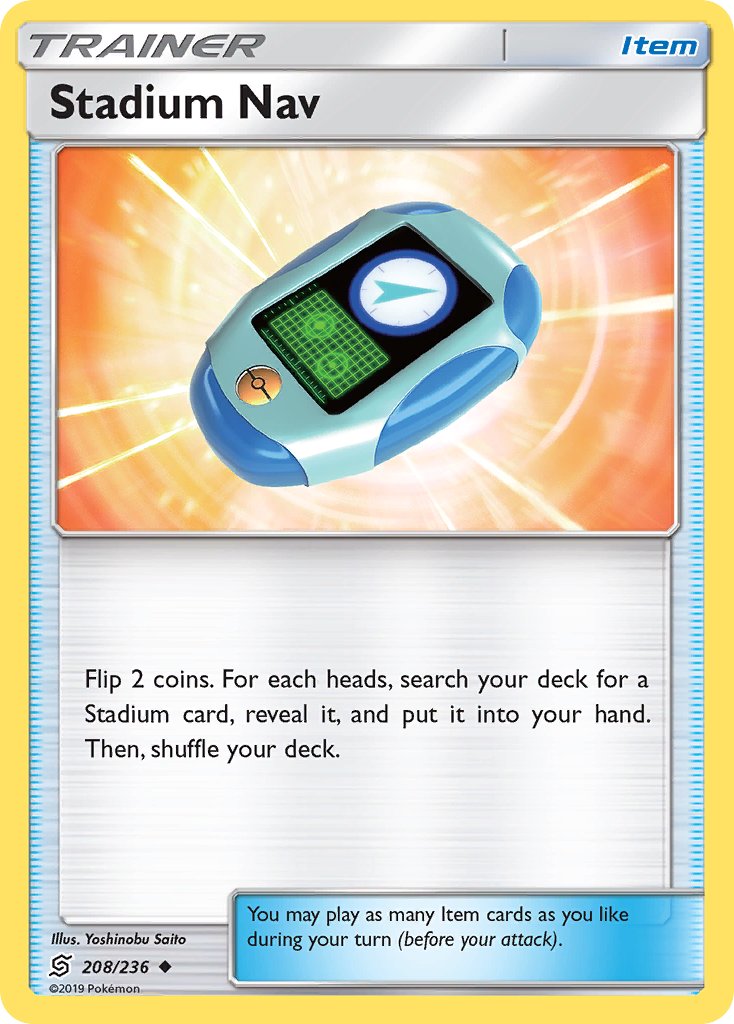
Stadium Nav would be helpful to search out the 3 stadiums in the list that are all pretty important when you need them. Tower of Darkness for draw support, Martial Arts Dojo for attack buff and Brooklet Hill for Basic Pokémon search are all really strong, but I am having a hard time finding space for both Stadium Nav and Tag call. I personally think Guzma & Hala is more important to find rather than just a stadium so having a way to search it out is pretty important. You make the call if you want to cut something for Stadium Nav.
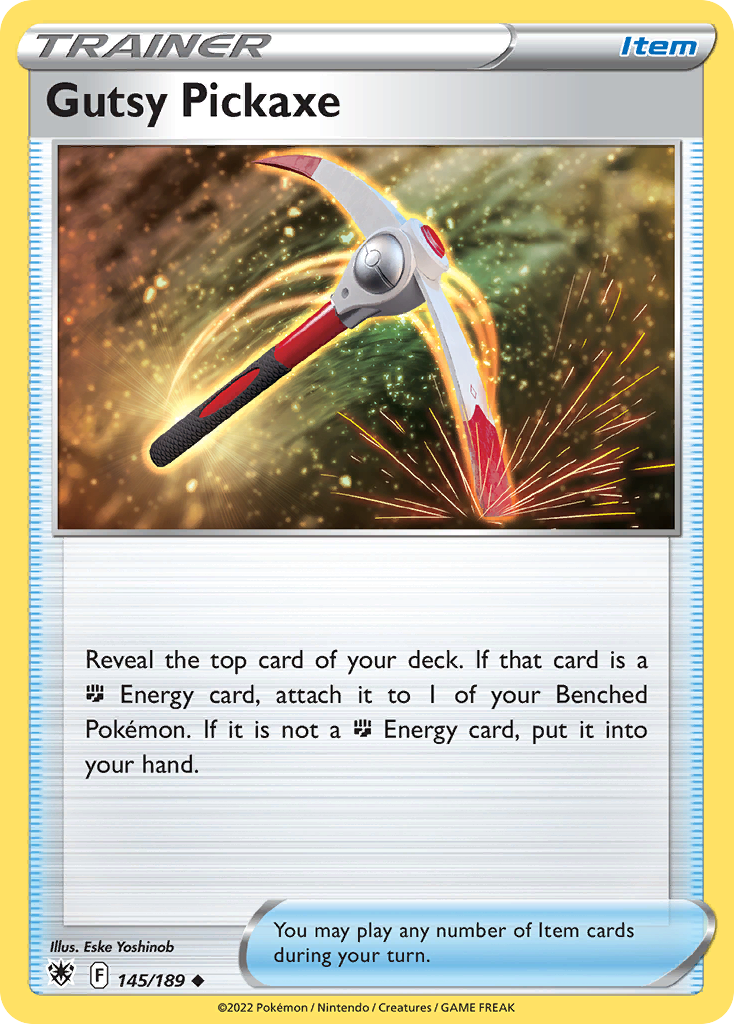
Gutsy Pickaxe could be a good energy acceleration card and if you don’t pull an energy with it, it’s a draw one card. I don’t think there is any downside to this card and I am definitely trying to find room for it in this list.
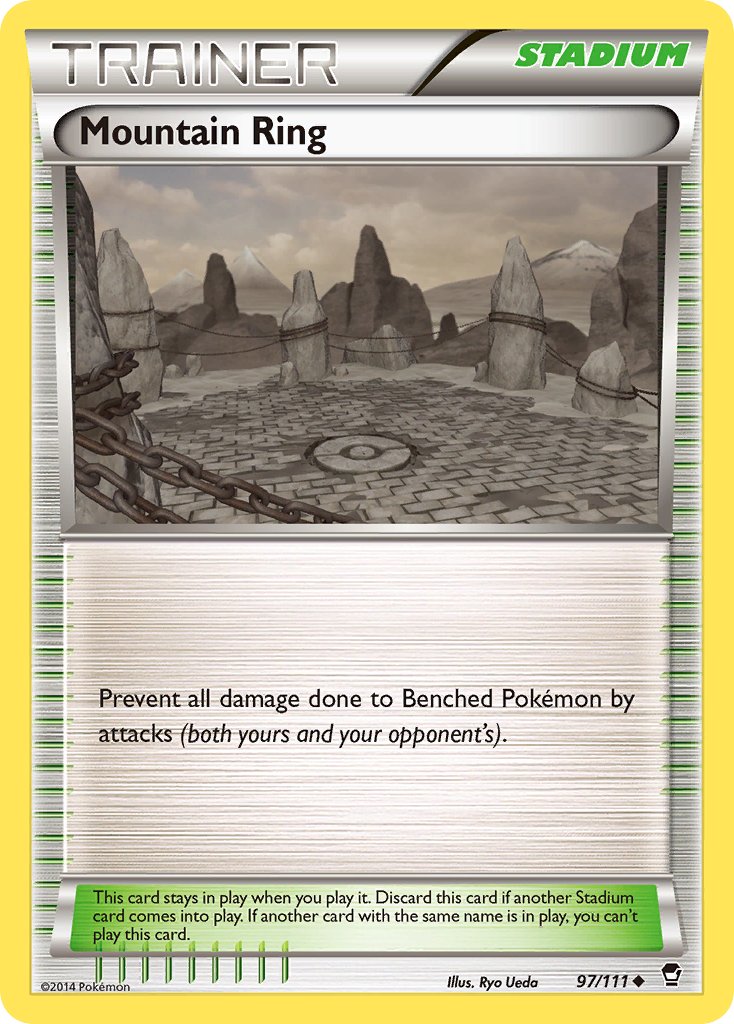
Mountain Ring stadium is probably going to make its way into this list at some point. It prevents all damage to benched Pokémon by attacks both yours and your opponents. It could be used in two ways. First, after your Donphan has done it’s initial damage to your own bench you can play this card to stop it from over attacking your own side of the board, which has been a problem in this list. Second, this deck will have a hard time against spread decks if you’ve already put too many damage counters on your own benched Pokémon and Mountain Ring could help stop a lot of bench damage from your own Donphan or from a lot of other decks that are using spread as their strategy.
In Closing
I hope to accomplish two goals with this article. One is to have built a new deck idea for you to try out and play around with and that you’ll hopefully have some fun with. Second and most importantly though, I hope to show people that you can take a different approach in your deck building ideas and that you don’t always have to be building a deck to become the best deck in format. While there is something to be said for trying to build an extremely powerful deck, I think there is just as much satisfaction and importance in building a deck around an interesting idea, just to see if you can make it work and to keep working on it until it’s the best that it can be, without worrying about if it’s going to win every tournament you enter it into. Single Strike Fighting is probably not going to be seen on the tops of any leader boards because there are some tough limitations on a lot of what’s going on in this deck, but I can tell you that it is very satisfying to pull off the strategy of this deck and I have had a ton of fun piloting it. All that I was really trying to do with this list was to take a mechanic that hasn’t been widely used, but that has plenty of cards built around it to support it, to become the best that it could be. Sometimes I think we all fall into the trap of thinking we have to break the meta with our builds, but in my personal opinion, deck building for fun and turning an idea into a reality is a worthwhile experience, regardless of it being a meta breaking archetype. That being said, this deck can hold it’s own in a match and I have already seen some pretty good success with it. I hope this list can inspire you to come up with your own ideas and try some things that haven’t been done before. Try this list out and see how fun it can be. If you don’t agree with my take on the list, please make any changes you see fit and give Single Strike some much deserved love and I promise you can have a lot of fun with it too.
Deck List
##Pokémon - 11
- 1 Galarian Farfetch'd CRE 078
- 1 Hitmonchan EVS 081
- 1 Makuhita FST 142
- 1 Mankey BST 066
- 1 Phanpy CES 072
- 1 Rockruff CRE 086
- 1 Donphan VIV 087
- 1 Galarian Sirfetch'd CRE 079
- 1 Hariyama FST 143
- 1 Lycanroc CRE 087
- 1 Primeape BST 067
##Trainer Cards - 39
- 1 Brooklet Hill GRI 120
- 1 Guzma & Hala CEC 193
- 1 Trainers' Mail ROS 092
- 1 Evosoda GEN 062
- 1 Bruno BST 172
- 1 Pokégear 3.0 SSH 174
- 1 Karate Belt UNM 201
- 1 Raihan EVS 152
- 1 Timer Ball SUM 134
- 1 Damage Pump LOR 156
- 1 Professor's Letter BKT 146
- 1 Super Rod BKT 149
- 1 Korrina FFI 095
- 1 Marnie SSH 200
- 1 Gloria BRS 141
- 1 Ultra Ball SUM 161
- 1 Cynthia UPR 119
- 1 Welcoming Lantern CRE 156
- 1 Tag Call CEC 270
- 1 Bodybuilding Dumbbells BUS 113
- 1 Special Charge STS 105
- 1 Boss's Orders RCL 189
- 1 Guzma BUS 115
- 1 Colress PLS 118
- 1 Float Stone PLF 099
- 1 Karen's Conviction CRE 144
- 1 Level Ball BST 129
- 1 Escape Rope PLS 120
- 1 Green's Exploration UNB 175
- 1 Tower of Darkness BST 137
- 1 Exp. Share BST 126
- 1 Quick Ball SSH 216
- 1 Professor's Research SSH 209
- 1 Muscle Band XY 121
- 1 Peonia CRE 149
- 1 Evolution Incense SSH 163
- 1 VS Seeker PHF 109
- 1 Ordinary Rod SSH 171
- 1 Martial Arts Dojo UNB 179
##Energy - 10
- 1 Impact Energy CRE 157
- 1 Strong Energy FCO 115
- 1 Stone {F} Energy VIV 164
- 4 Fighting Energy SMEnergy 015
- 1 Double Colorless Energy SUM 136
- 1 Twin Energy RCL 174
- 1 Single Strike Energy BST 141